Roasted Pear + Salted Caramel Cheesecake Bites with Speculoos Cookie Crust {vegan}

Roasted Pear + Salted Caramel Cheesecake Bites with Speculoos Cookie Crust {vegan} | Kneading Home

Thanksgiving is coming! I have to be honest, normally Thanksgiving gets me super stressed. It's the ultimate foodie holiday, and when you're a person whose known by family and friends for cooking, people have expectations. Nate and I normally plan for weeks, I decorated a pinterest-inspired table with gords and pretty votives, and we food prep together for at least a solid week. 

Thanksgiving is sort of our holiday. We've spent every thanksgiving together since we met and this will be our 8th. Every year it seems like we spend it with different people in a different place, and we love that about the holiday. We love everything this holiday stands for: inclusiveness, good food, and gratitude. 

Roasted Pear + Salted Caramel Cheesecake Bites with Speculoos Cookie Crust {vegan} | Kneading Home

But this year we're going low-stress, simple. I've pulled too many all-nighters and written to many papers in the past two weeks to stress about a holiday! 

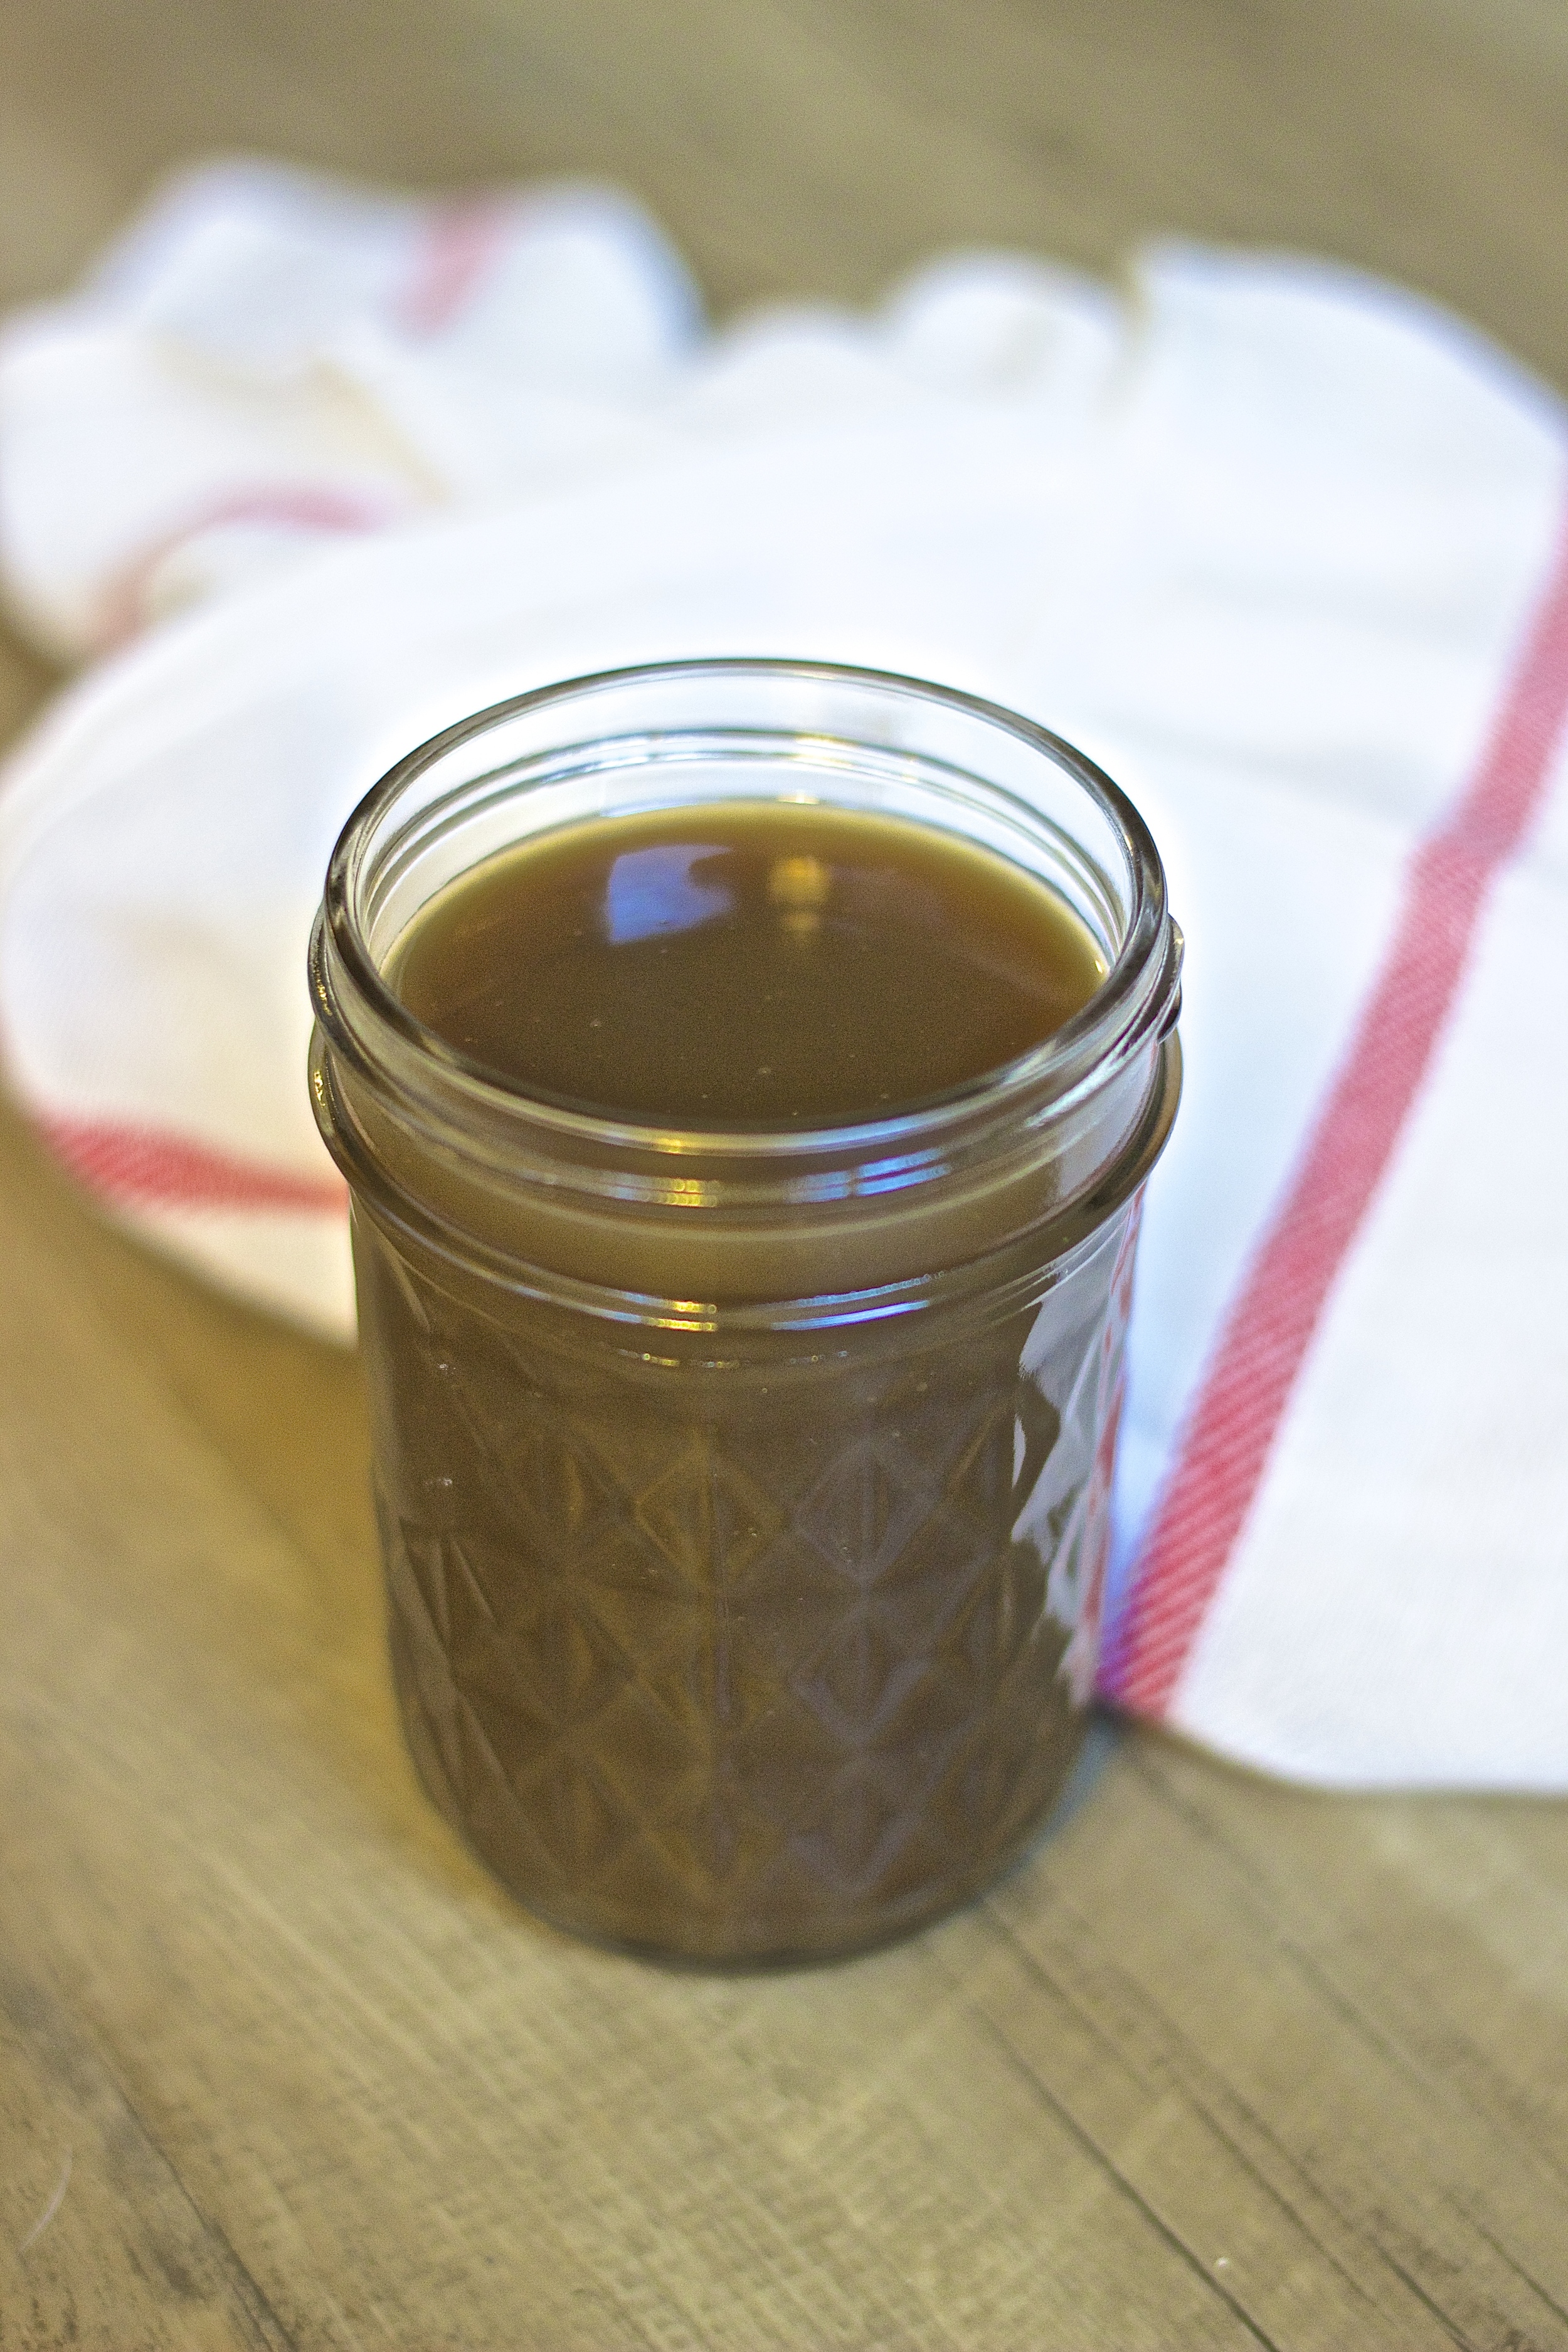
One thing I know is I will be eating these little beauties. They are the creamiest, tastiest cheese cake bites that will please vegans and non-vegans alike. The crust is made from crushed up speculoos cookies the cheese cake base is a date sweetened blend of coconut milk and toasted cashews with spiced roasted pear, all topped with salted caramel. Guys, I had no idea vegan caramel was possible, let alone this good! 

Maple Sweetened Vegan Caramel Sauce | Kneading Home
Roasted Pear + Salted Caramel Cheesecake Bites with Speculoos Cookie Crust {vegan} | Kneading Home

Roasted Pear + Salted Caramel Cheesecake Bites with Speculoos Cookie Crust
makes 18 cheesecake bites

For the crust: 
1 1/2 cups speculoos cookie crumbs, (or sub graham cracker)
1/4 cup coconut oil

For the filling: 
1 cup raw cashews
8 dates, pitted
1/2 cup coconut oil, melted
1 can full-fat coconut milk
1 medium d'anjou pear, (relatively firm) 
1 teaspoon vanilla
1 tablespoon cinnamon
1/4 teaspoon nutmeg
1/4 teaspoon salt

For the caramel
1/3 cup brown sugar, packed
1/4 cup maple syrup
1 1/2 teaspoon vanilla
pinch of salt
1 can full-fat coconut milk
fluer de sel for finishing

Make the crust. Preheat the oven to 350. Fill muffin tins with 18 wrappers. In food processor, blend cookies into crumbs. Stir in melted coconut oil until evenly coated, then divide the crumbs among muffin tins. Press the crumbs down to form a crust - a shot glass works great for this. Bake for 8-10 minutes until fragrant and golden brown. 

Make the filling. With the oven still on, line a baking sheet with parchment paper and top with cashews. Cook for 8-10 minutes, rotating halfway through, until just slightly brown and very fragrant. 

In in the bowl of a food processor with a blade attachment, or blender, add cashews and dates and blend for about a minute. With the food processor running, slowly pour in the coconut oil, followed by the coconut milk. (Make sure to do it in this order. If you put it all in at once the liquid will splash everywhere and make a huge mess. I know from experience.) 

Peel, core, and dice the pear. Combine pears, vanilla, cinnamon, nutmeg and salt into a small saucepan. Cook over medium heat for about 5 minutes, stirring frequently, until the juices begin to release and the mixture looks gooey like jam. Pour the pear mixture into the cheesecake mixture and stir to combine. 

Divide the filling among the muffin tins and refrigerate for at least two hours

Meanwhile, make the caramel. Combine all of the ingredients in a small saucepan and cook over medium heat, stirring occasionally for 30-40 minutes. The mixture will bubble up slightly, darken in color, and eventually thicken and reduce to the consistency of caramel. Keep cooking until it has reduced to about 1 1/4 cups. Transfer to a jar. 

Just before serving top the cheesecakes with caramel, you will have extra, and sprinkle liberally with chunky sea salt. 


Homemade Speculoos Cookies {vegan}

Homemade Speculoos Cookies {vegan} | Kneading Home

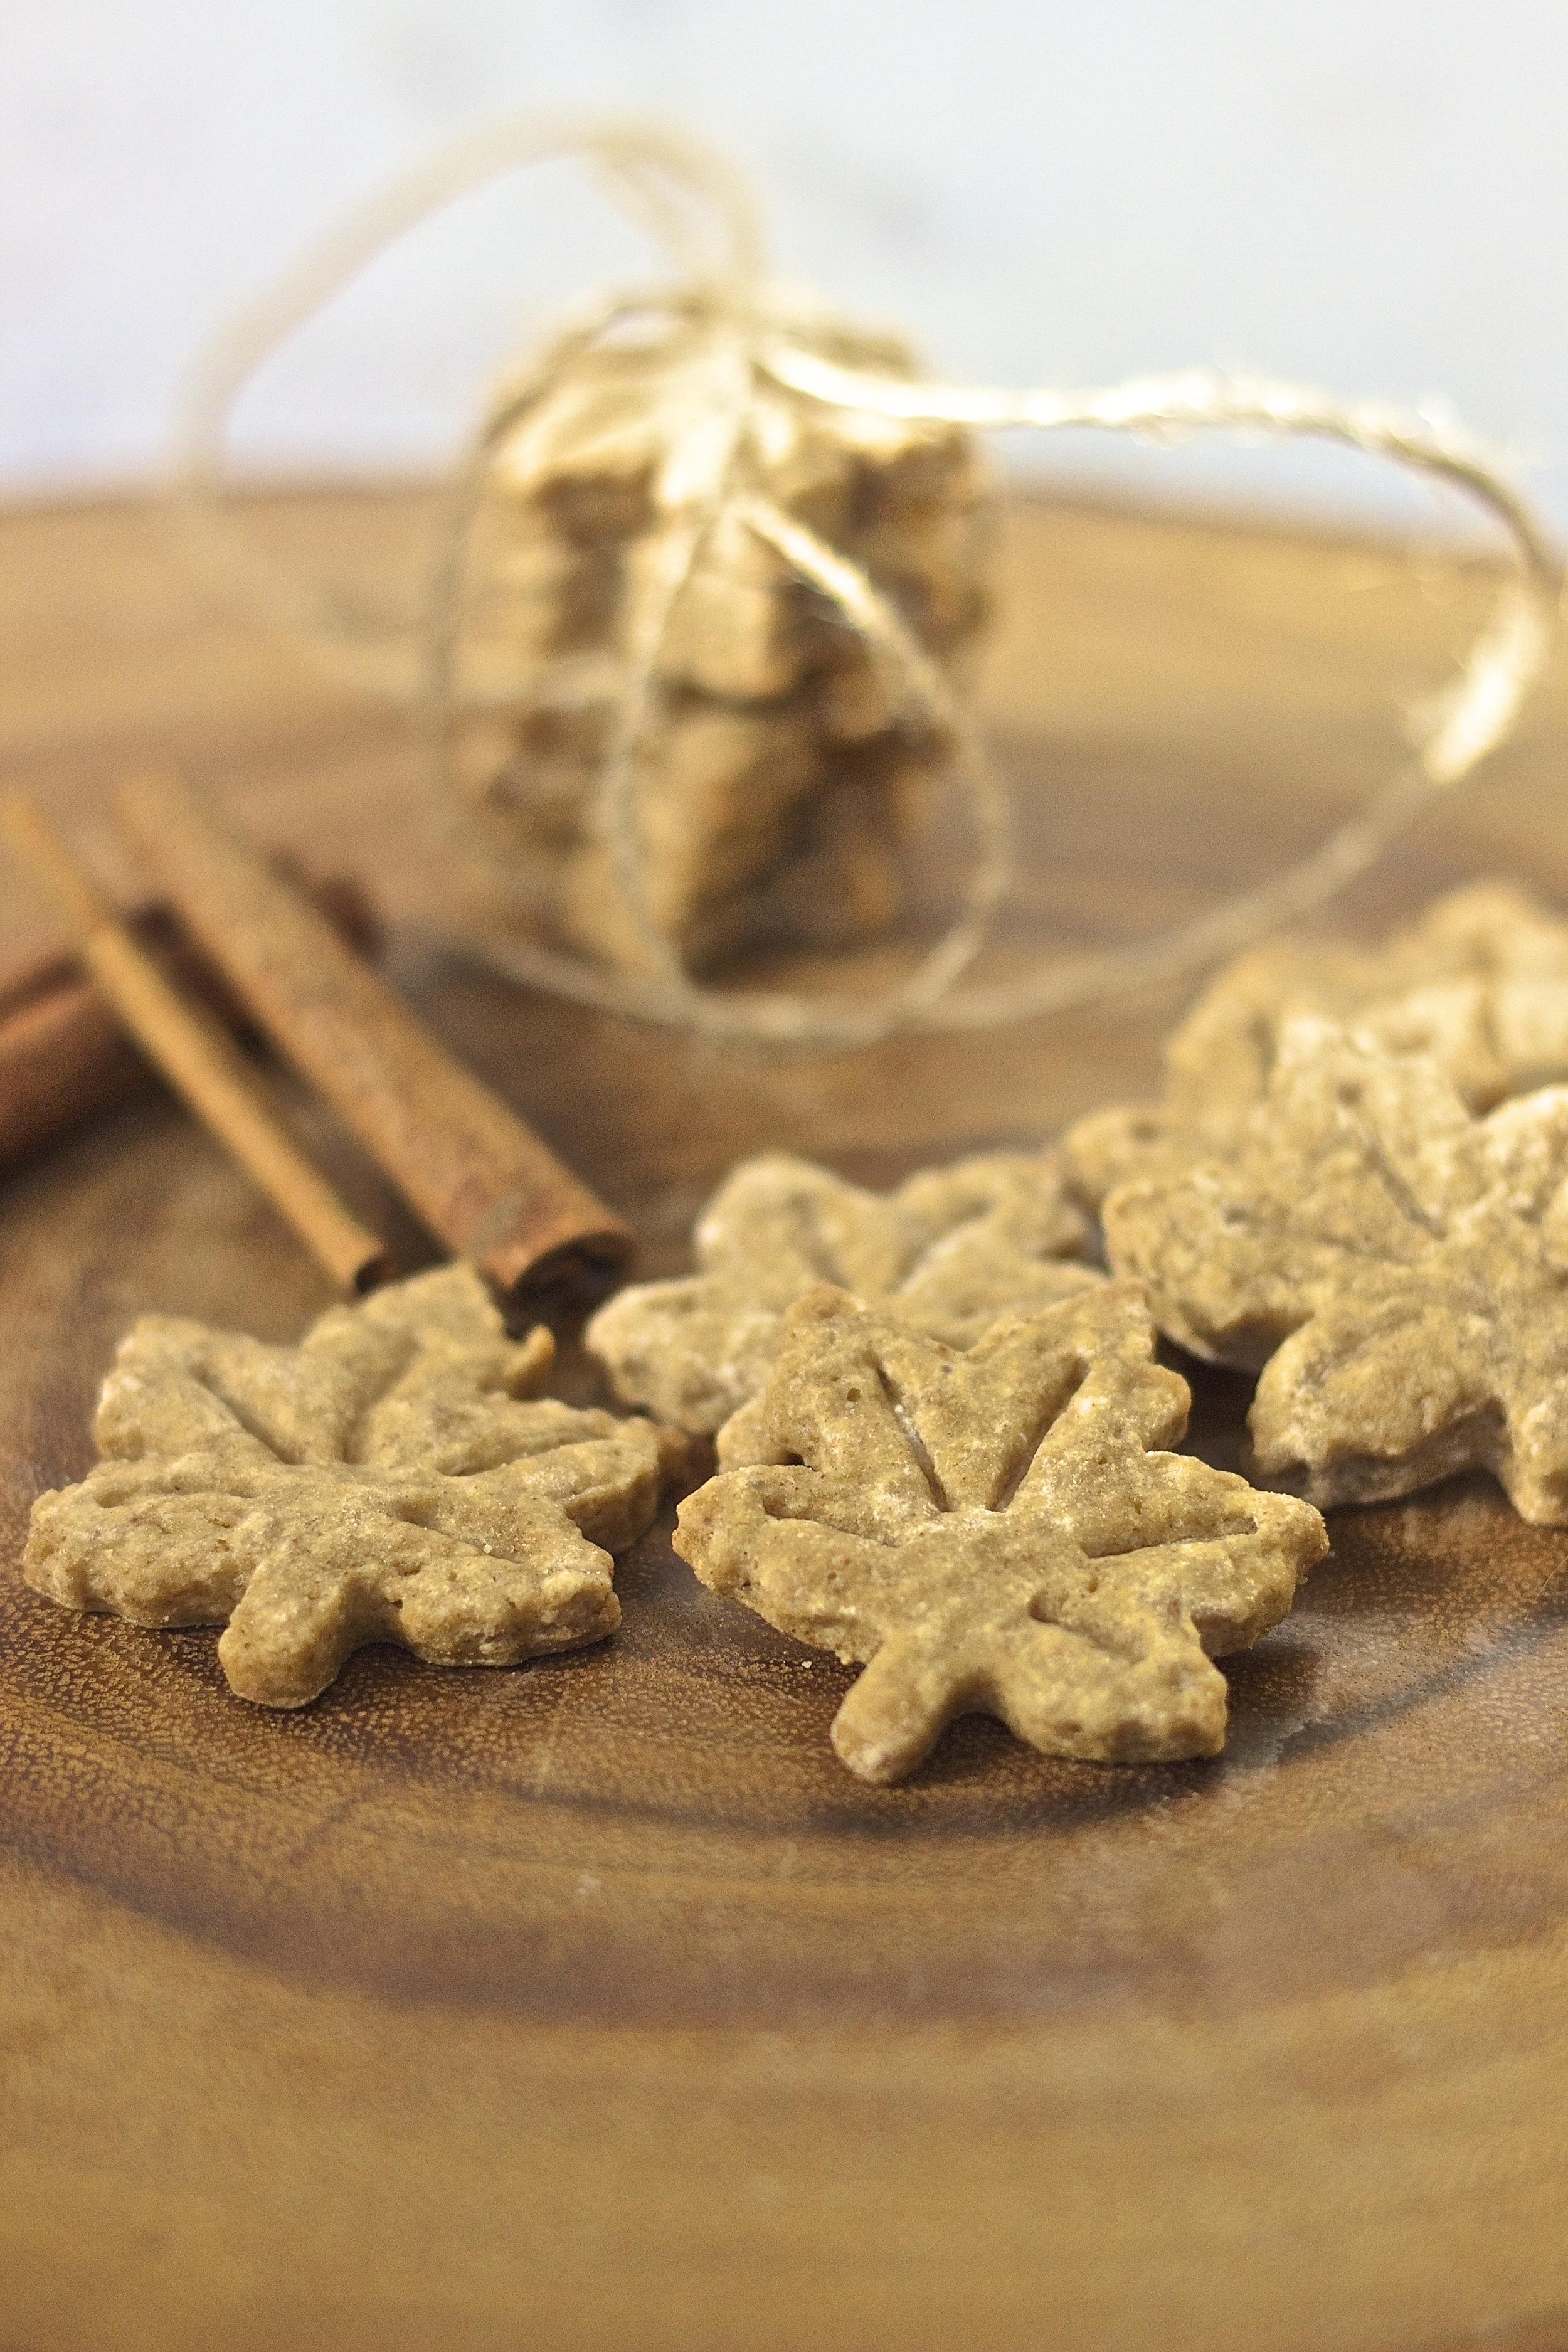
By now I think everyone has tried the wonder that is speculoos cookie butter. The stuff is practically liquid gold, and these are the cookies that started it all. Speculoos, sometimes called Speculaas, cookies are a classic spiced holiday treat from Belgium. Think, gingerbread cookie, but better. I did my research and these are as classic as they can get with a gamete of spices including cinnamon, nutmeg, cloves, ginger, white pepper and cardamon. They are warm with subtle spice and perfect with a steamy mug of coffee or tea.

Homemade Speculoos Cookies {vegan} | Kneading Home

Traditionally they're made with butter, but I tweaked a couple things and found using coconut oil instead made them just as good if not better, so they are completely vegan. 

Homemade Speculoos Cookies {vegan} | Kneading Home
IMG_4235.jpg

Homemade Speculoos Cookies {vegan} 
Makes about 120 tiny cookies

3 cups all purpose flour
1 tablespoon cinnamon
1 1/2 teaspoons nutmeg
3/4 teaspoon ground cloves
1 teaspoon ginger
1/4 teaspoon white pepper
1/4 teaspoon cardamon
1/2 teaspoon salt
1/2 teaspoon baking powder
3/4 cup coconut oil, very cold/solid
1 cup brown sugar, packed
1 teaspoon vanilla
3/4 cup milk of your choice (I used almond)

Measure the coconut oil and place in the refrigerator while you prepare the other ingredients. In a medium bowl, combine flour, spices, salt, and baking powder and whisk until completely incorporated, set aside. Add sugar and cold coconut oil to a stand mixture fitted with a paddle attachment. Cream the coconut oil and sugar together with the mixer on medium for about 3 minutes, then add the vanilla. 

With the mixer on low, pour about 1/2 cup of the flour mixture into the coconut oil mixture, follow with a splash of milk, repeat until all of the flour and milk is incorporated and the dough starts to form an almost cohesive ball. Divide the dough in half, forming into the shape of a disk if you'll be rolling out the dough and using cookie cutters, or forming into a cylinder if if you'll be cutting them into cookie slices. Wrap the dough in plastic, and refrigerate for at least 2 hours

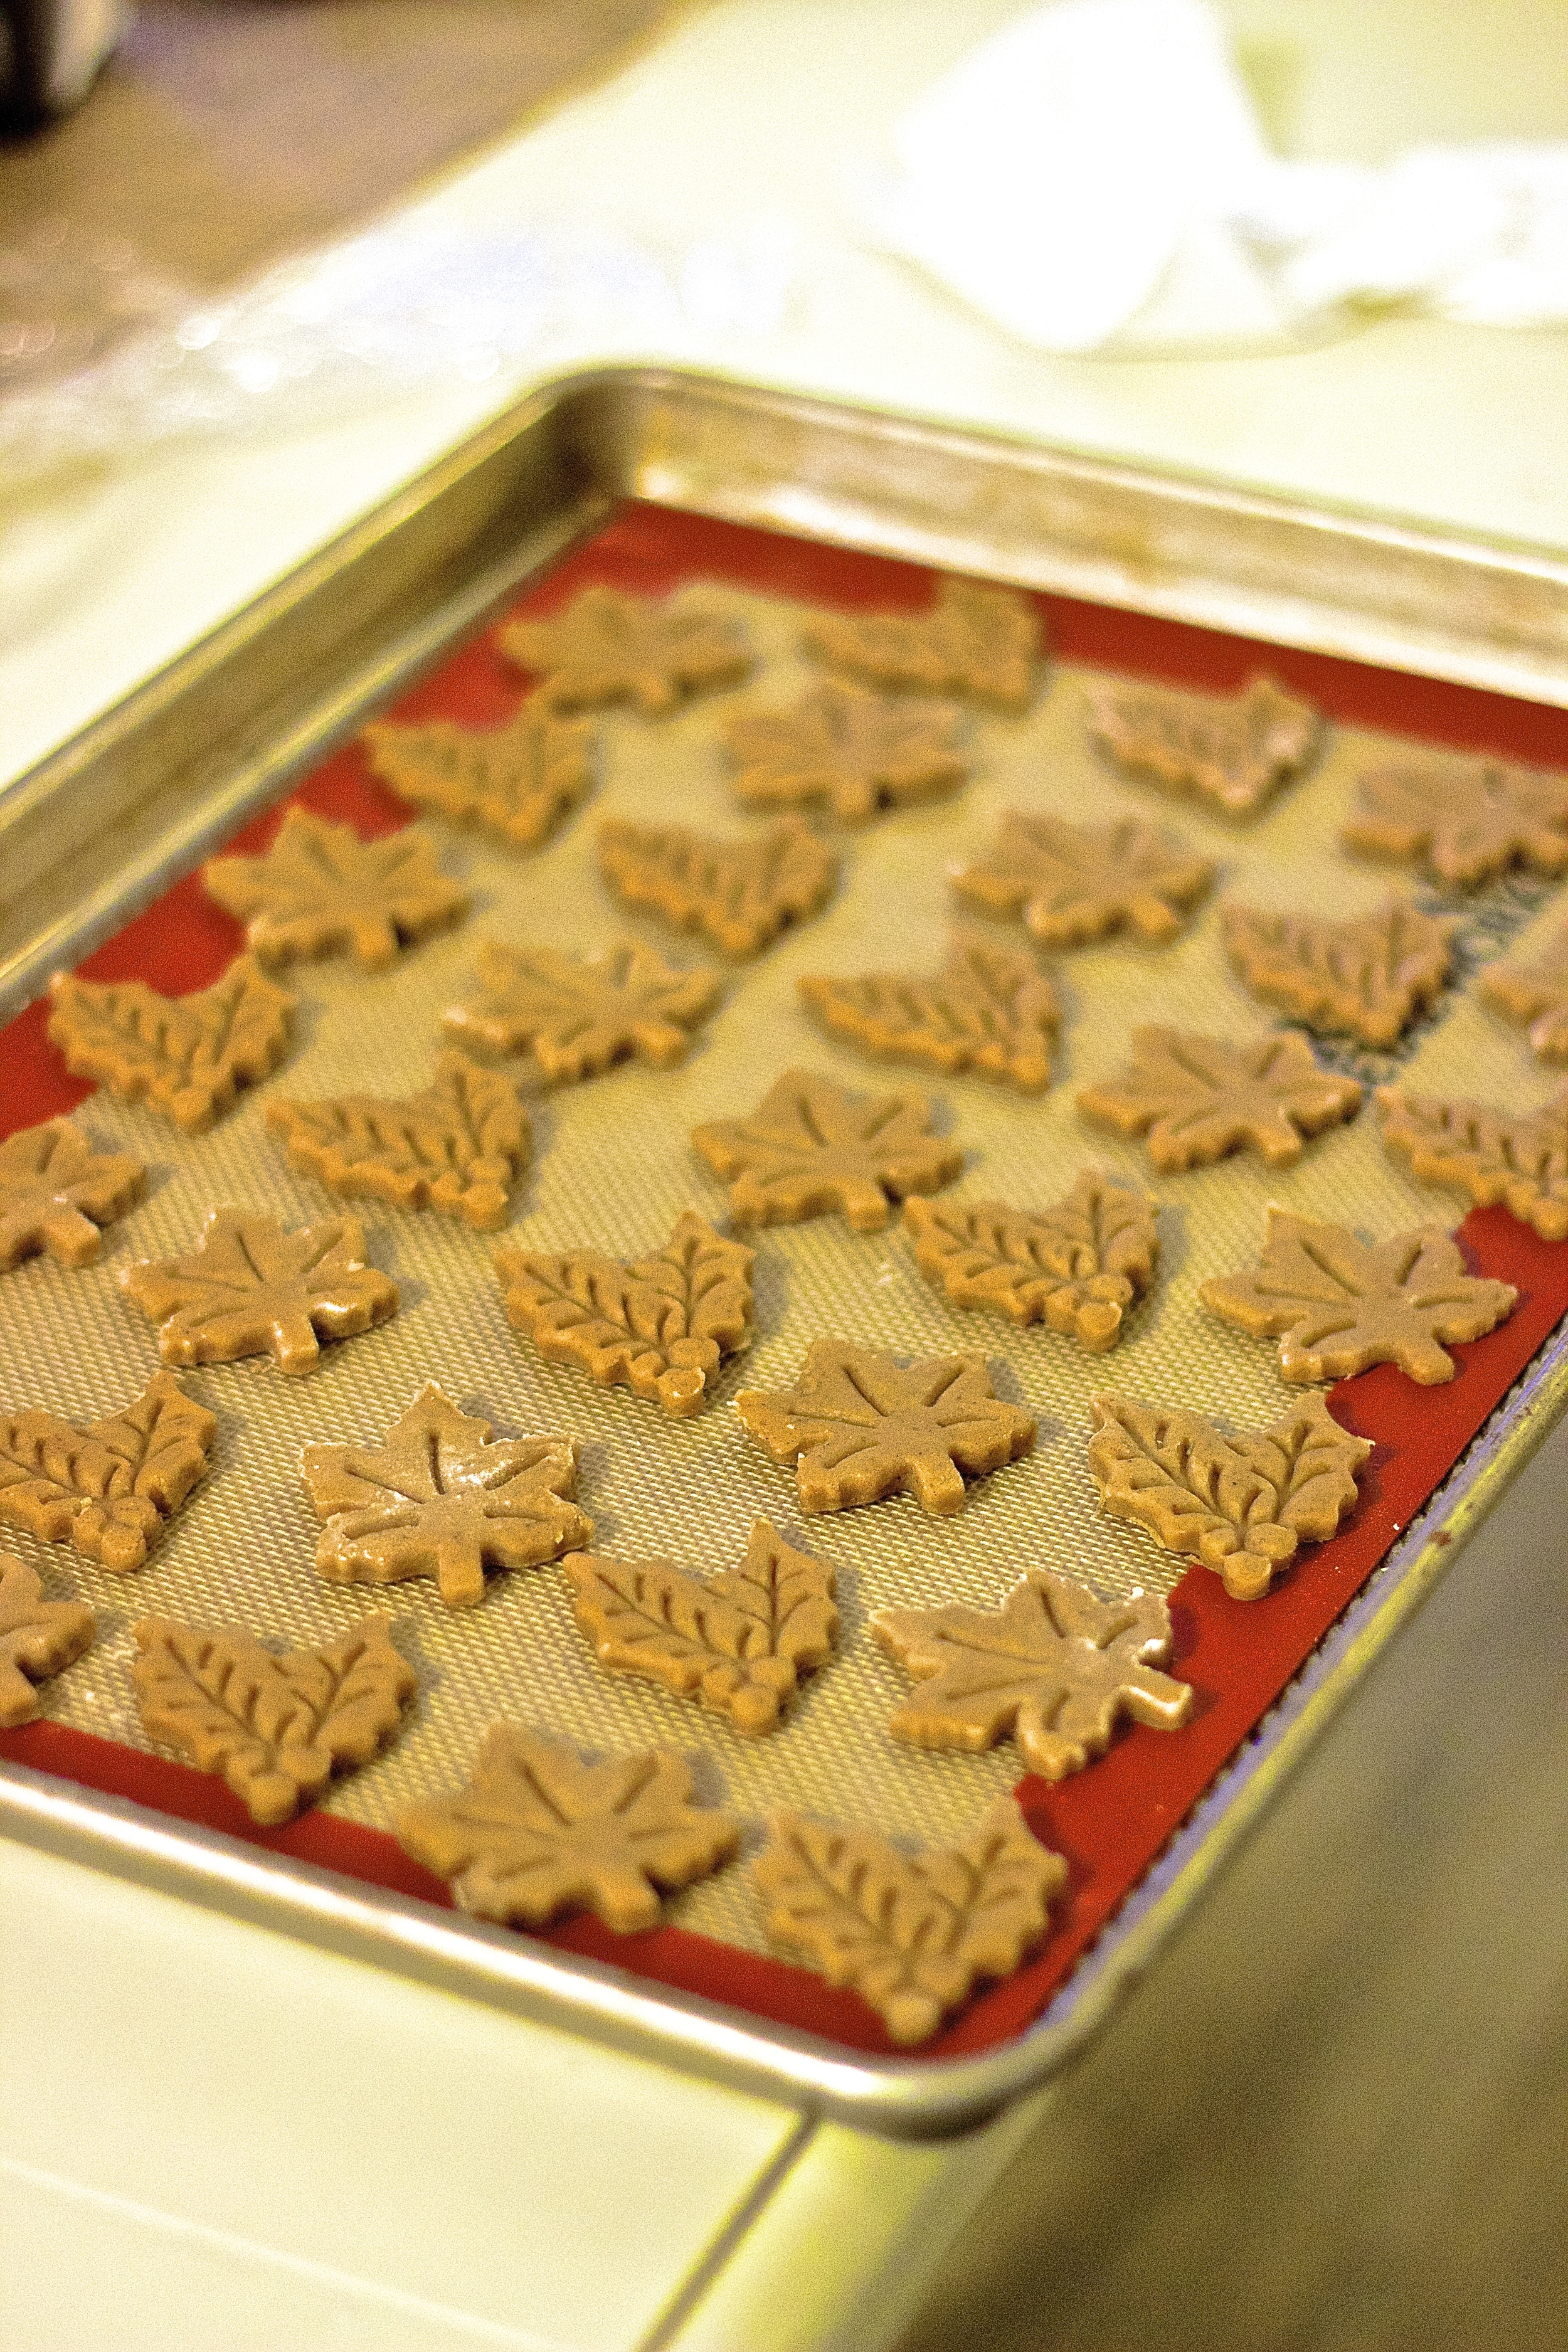
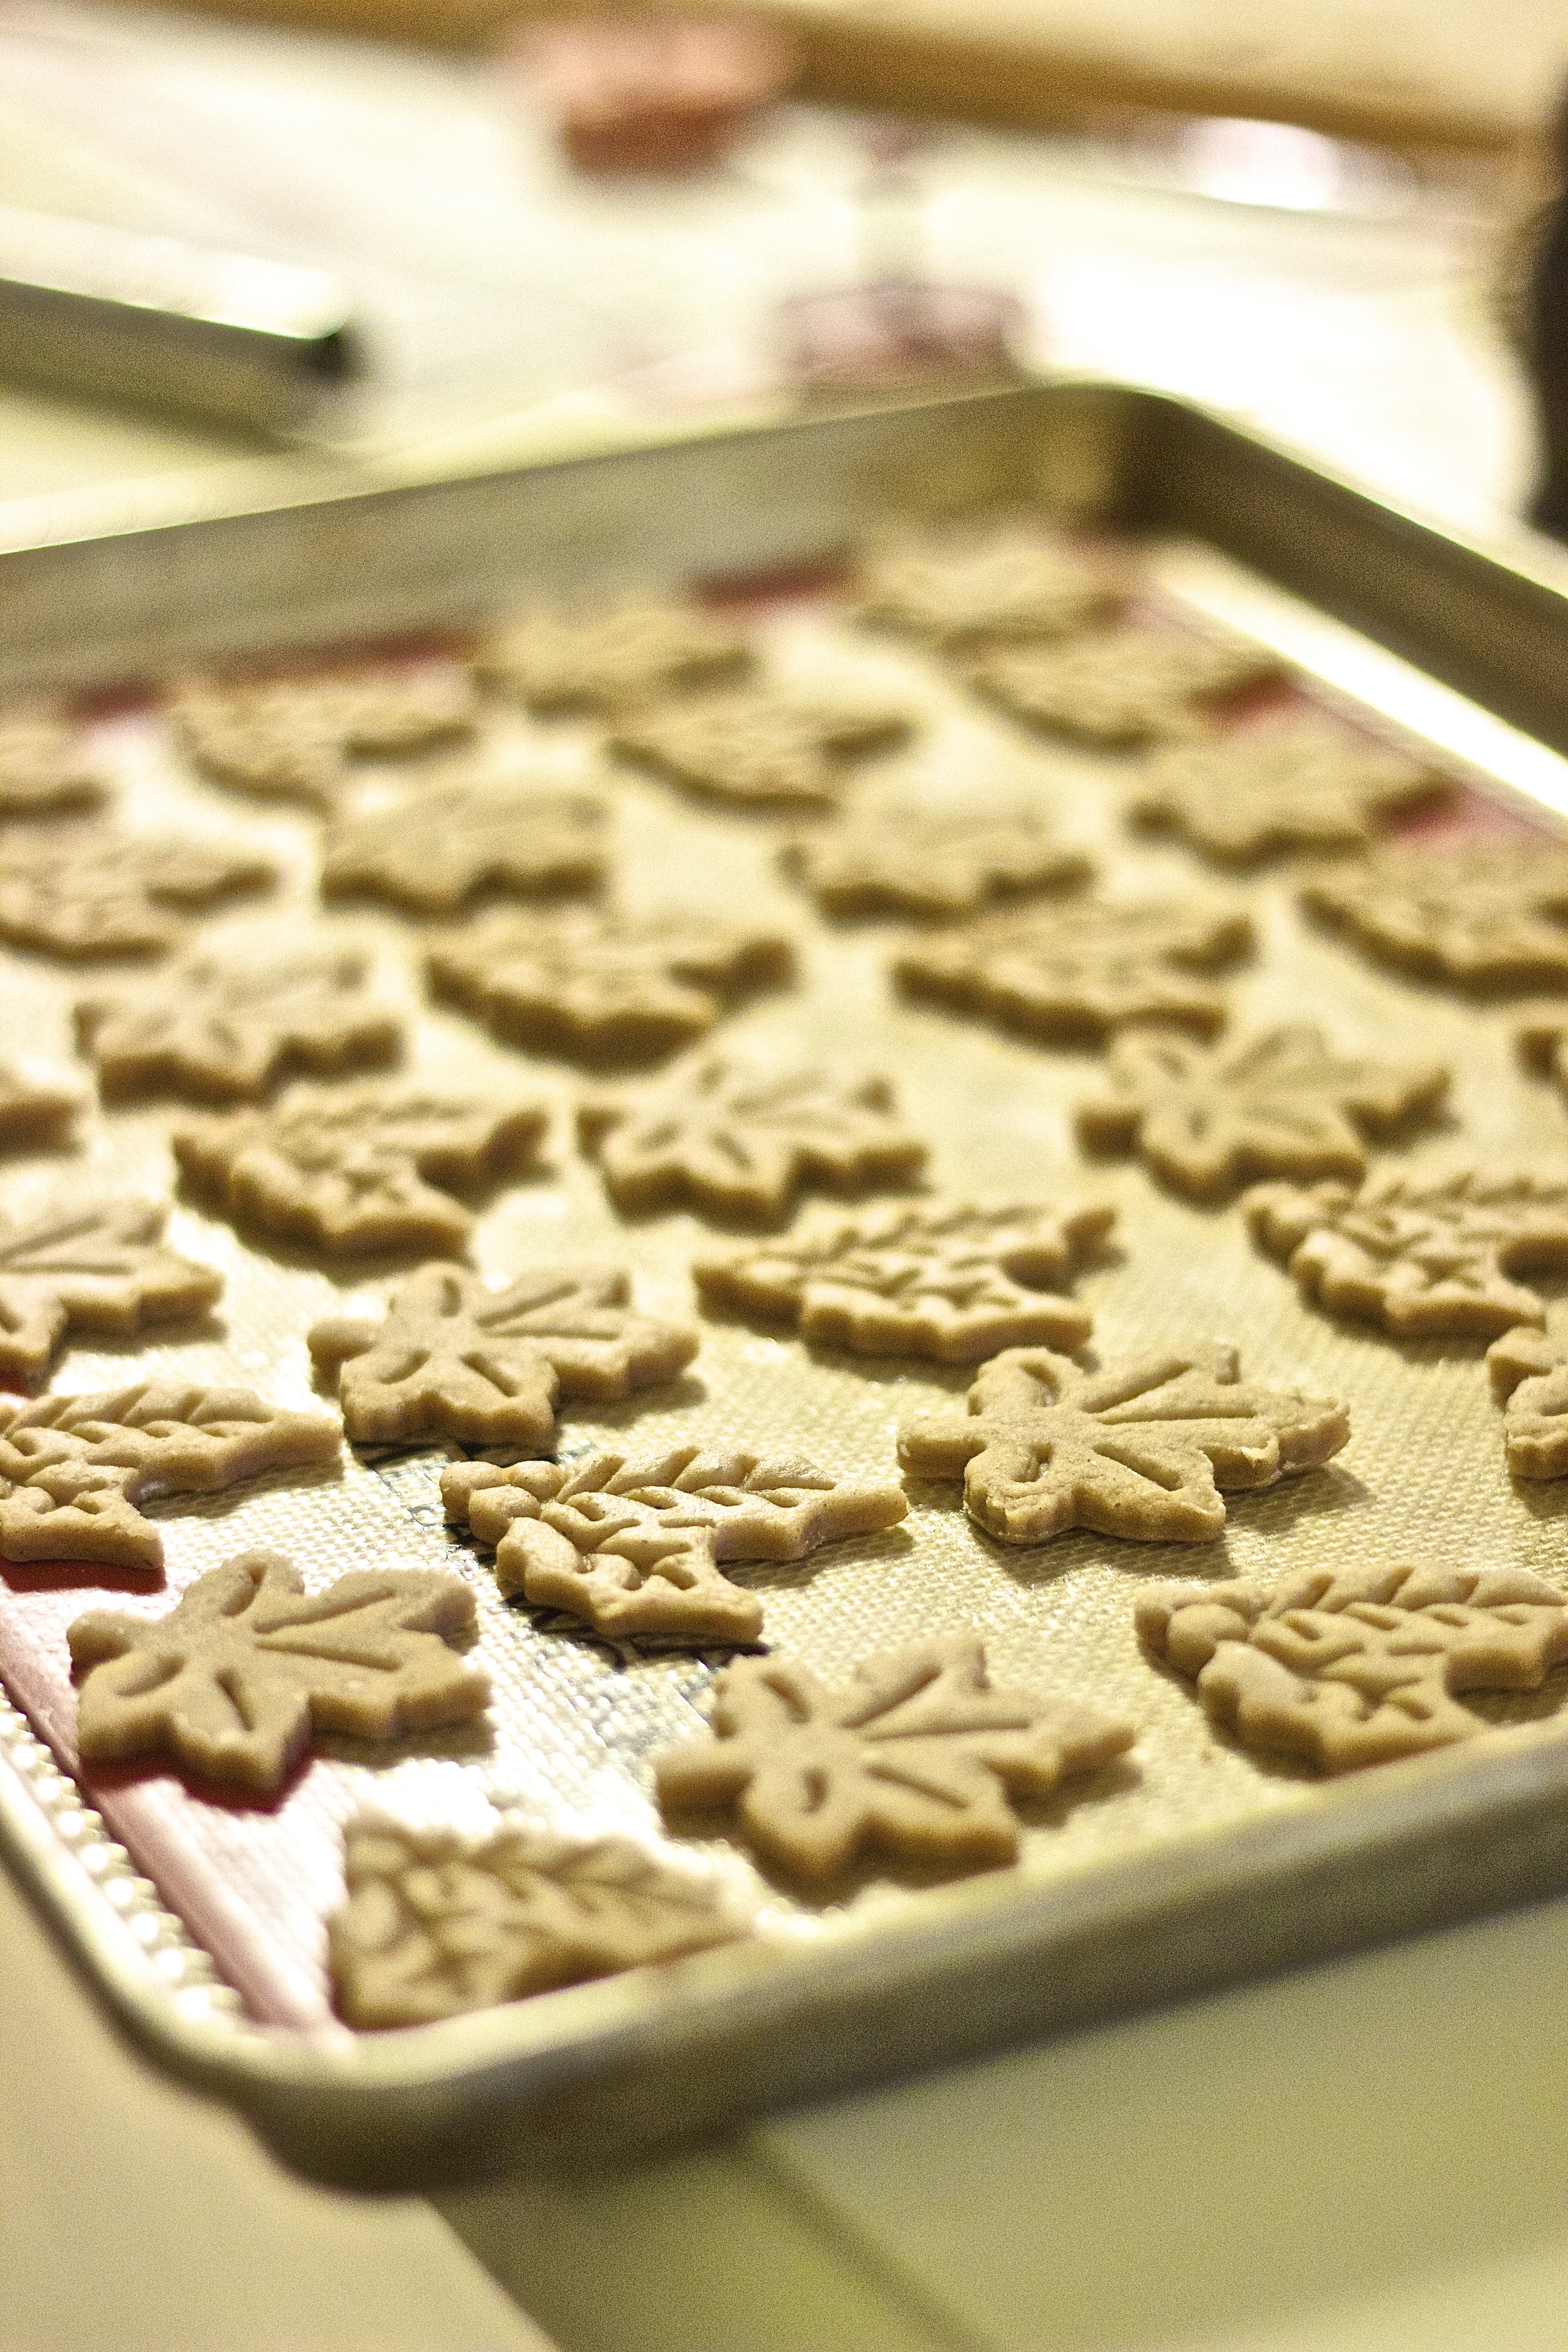
Preheat the oven to 350 degrees and line a baking sheet with parchment. If using cookie cutters, on a floured work surface, roll the dough out until it's 1/4 inch thick, punch out cookies, and cook for 12-15 minutes until golden brown - they will continue to crisp up as they cool. If using sliced cookies, they will cook for closer to 20 minutes. 

Notes: Here are the cookie cutters I used. I bought them two Thanksgivings ago amid Paula Deen's scandal and remember them being less than half this price. We use them every holiday season, but any kind of cutters will work! 

DIY Horchata Pops

DIY Horchata Pops | Kneading Home

I've had this post completely ready to go, pictures taken, recipe finished for almost a solid month now and literally have not had 10 minutes to actually read it over and click publish. I'm learning the meaning of time management more than ever before. I'm learning how to exist on 6 hours or less of sleep, and by the time the weekend comes all I want to do is sit on my couch with Pumpkin and watch New Girl! So I'm blaming my lateness on this Indian Summer we are having because it's nearly October and it's still in the high 70s most days here. I think I'm the only one ready to bust out those sweaters and the le creuset! 

DIY Horchata Pops | Kneading Home

Before we moved to Chicago, the Calabasas Farmer's Market became a Saturday morning tradition. Few places in life are better than a farmer's market towards the end of summer. Cherry tomatoes sweet as candy, peaches so juicy you almost need a bib to eat them, and dirt cheap zucchini and summer squash are our stables all summer long. And don't even get me started on how much better eggs from pasture raised chickens are. No hesitation on forking over $6 for a dozen. So earlier this summer we spotted a homemade popsicle truck with the most interesting flavors at the farmer's market. One lick after trying the horchata flavor and I was hooked. 

Believe it or not this was my first time making popsicles (I've always been more of an ice cream person!). A popsicle mold is one of those silly kitchen gadgets I insisted on keeping but never actually used. So homemade horchata pops! They are the easiest way to savor horchata in all it's cinnamon-y goodness! Enjoy. 

DIY Horchata Pops | Kneading Home

DIY Horchata Popsicles 
Makes about 12 small popsicles 

one batch homemade horchata 
1 teaspoon cocoa powder (optional)* 
cinnamon, for dusting 

Pour horchata into popsicle molds and place towards the back of the freezer. After 15-20 minutes remove from the freezer, stir, then return to the freezer. After about 30-35 minutes, once partially frozen, add popsicle sticks, return to the freezer for at least 6 hours. 

To remove, run the base of the popsicle molds under warm water to loosen. Dust the popsicles with cinnamon and enjoy! 

*I actually like these better without the cocoa powder, but feel free to experiment with adding some to half or 1/4 of the popsicles.