Creamy Lemon Pasta with Summer Squash {vegan}

I may or may not have googled "how to survive a long dark winter" the other day. I normally love Fall, but after struggling through said long dark winter last year, coupled with a tough first year of grad school I am dreading busy schedules, early sunsets, and the closing of Chicago farmer's markets this Fall. Towards the beginning of August I totally panicked, thinking I had not taken advantage of summer the way I should have, and filled my calendar with summer music and film series in the parks, food festivals, and long family walks with pumpkin. We've been savoring this weather and biking all around the city for date nights in neighborhoods far from our own.
We've become religious about our Saturday morning farmer's market trips. I think I bought close to 10 pounds worth of peaches last week, blanched them, peeled them, sliced them, and then froze them. I've been adoring Chicago summer, humidity and all. I worship these warm summer nights and hours of day light. Seriously, the summer can't end, I haven't even made zucchini bread yet!


This pasta is light, summery, and creamy but dairy-free. Once you've soaked the cashews it comes together so easily and celebrates the simplicity and freshness of summer produce. We've been buying zucchini in bulk for what feels like pennies every week at the farmer's market and this veggie-heavy pasta is the perfect way to use them all. It also just so happens to be packed with plant-based protein (thank you nuts) and reheats great.


Serves 4
1 cup raw cashews, soaked 4-8 hours
3/4 cup water
1/4 cup nutritional yeast
1/2 teaspoon salt
8 oz angel hair pasta
2 tablespoons olive oil
4 garlic cloves, finely chopped
1/4 - 1/2 teaspoon red pepper flakes
2 pounds zucchini, diced
zest of 1 lemon
juice of 1/2 lemon
large handful of basil
1/4 cup shelled pistachios (optional)
salt + pepper to taste
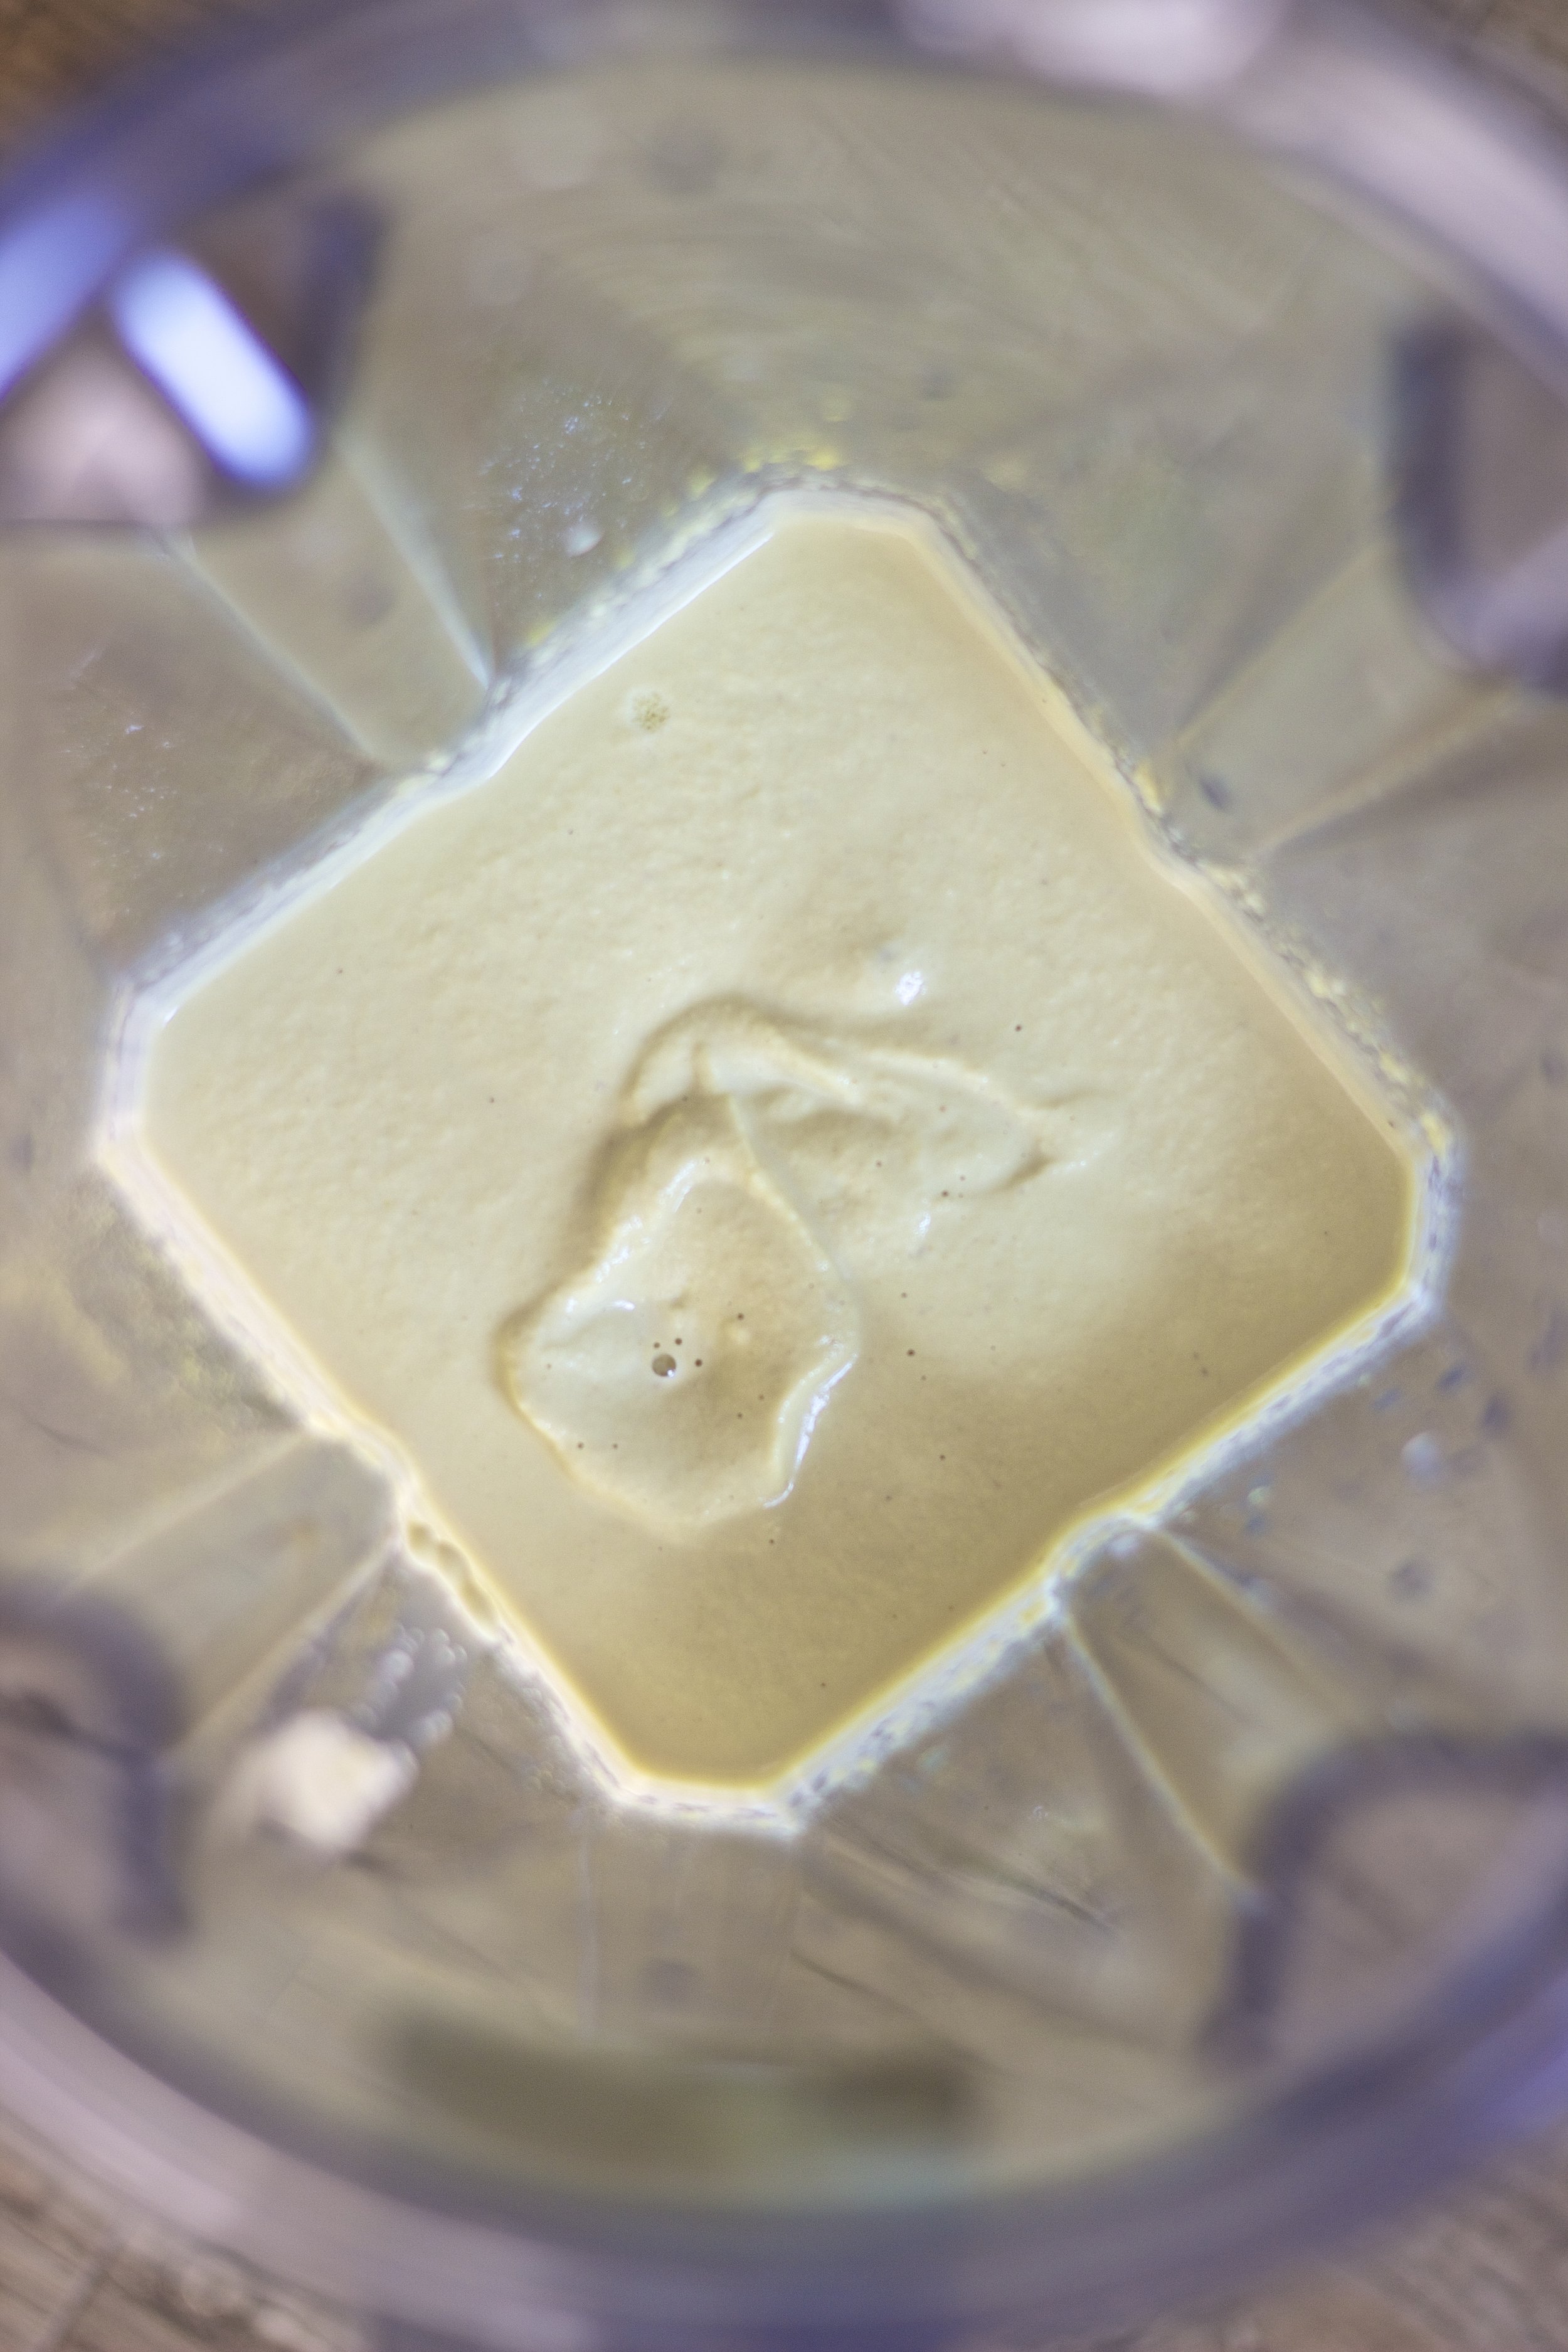
Combine soaked cashews, water, nutritional yeast, and salt in a blender and blend until completely smooth and creamy. Set aside - note, this step can be done up to two days in advance.
Bring a pot of heavily salted water to a boil. Meanwhile, heat a large sauté pan over medium heat. Add olive oil, followed by the garlic, and red pepper flakes. Cook for 1-2 minutes until garlic has softened then add in the zucchini and toss to coat. Cook for 5-7 minutes, until the zucchini has softened and released some of its liquid. Remove from the pan and set aside.
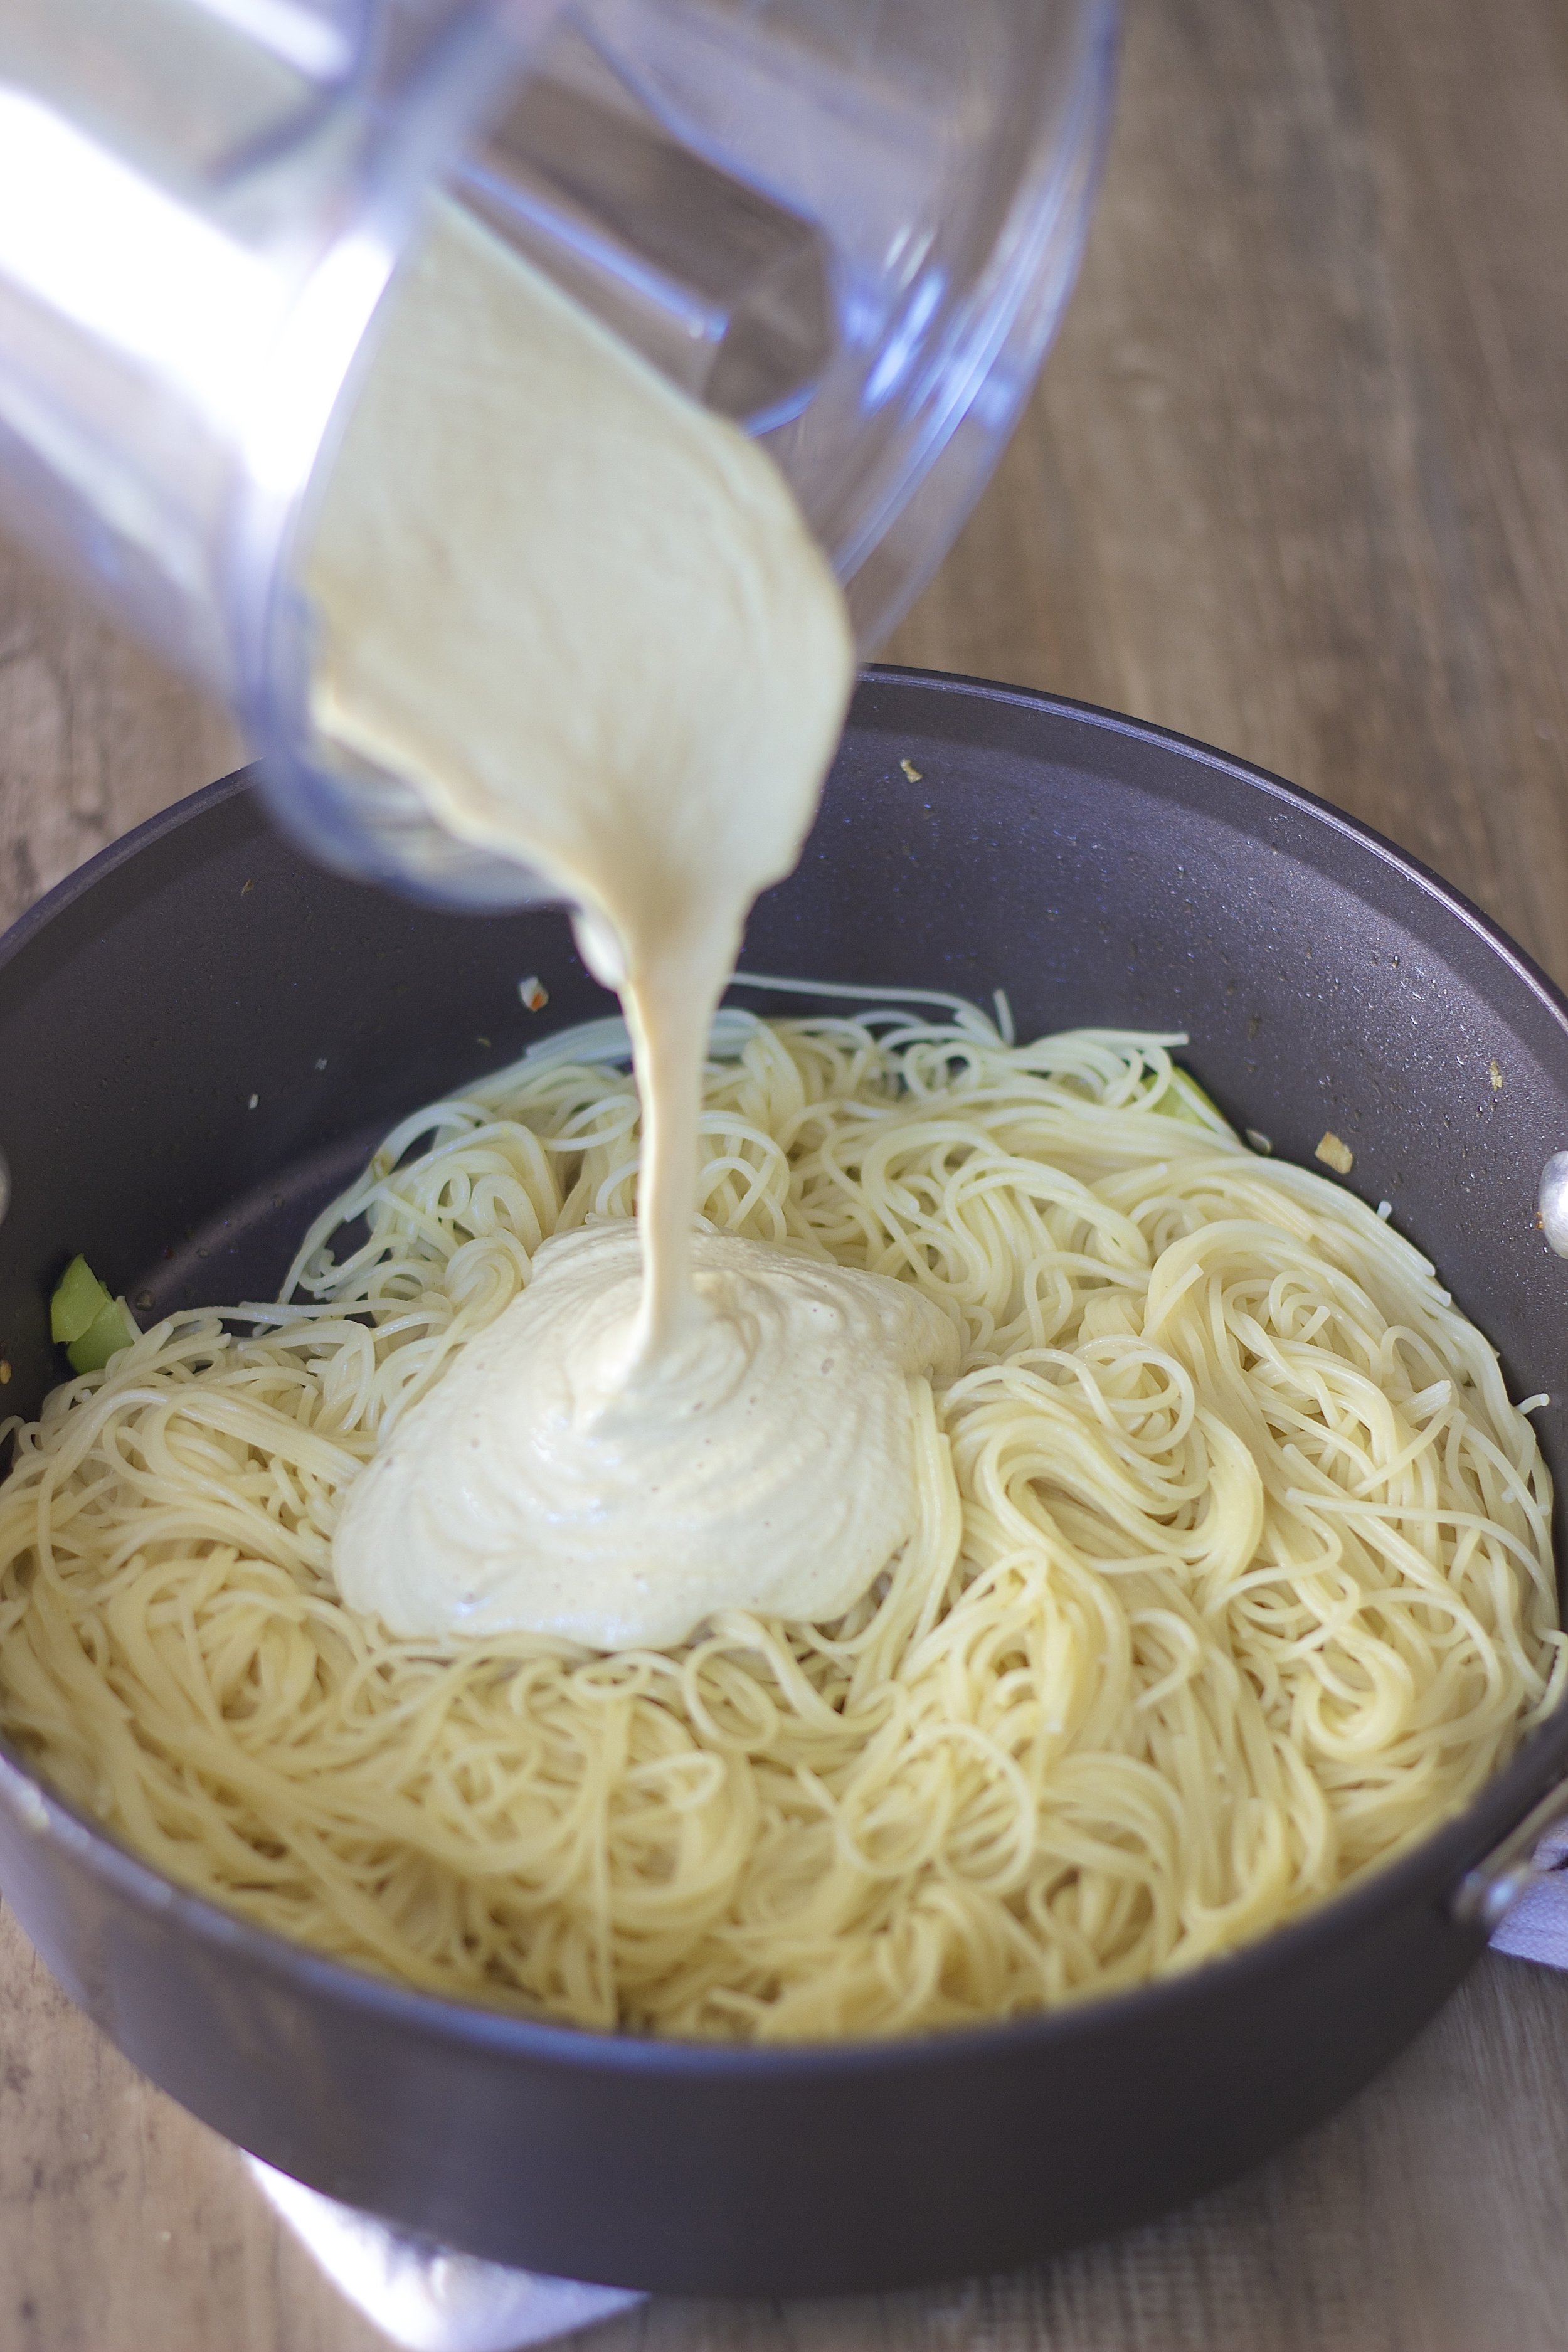
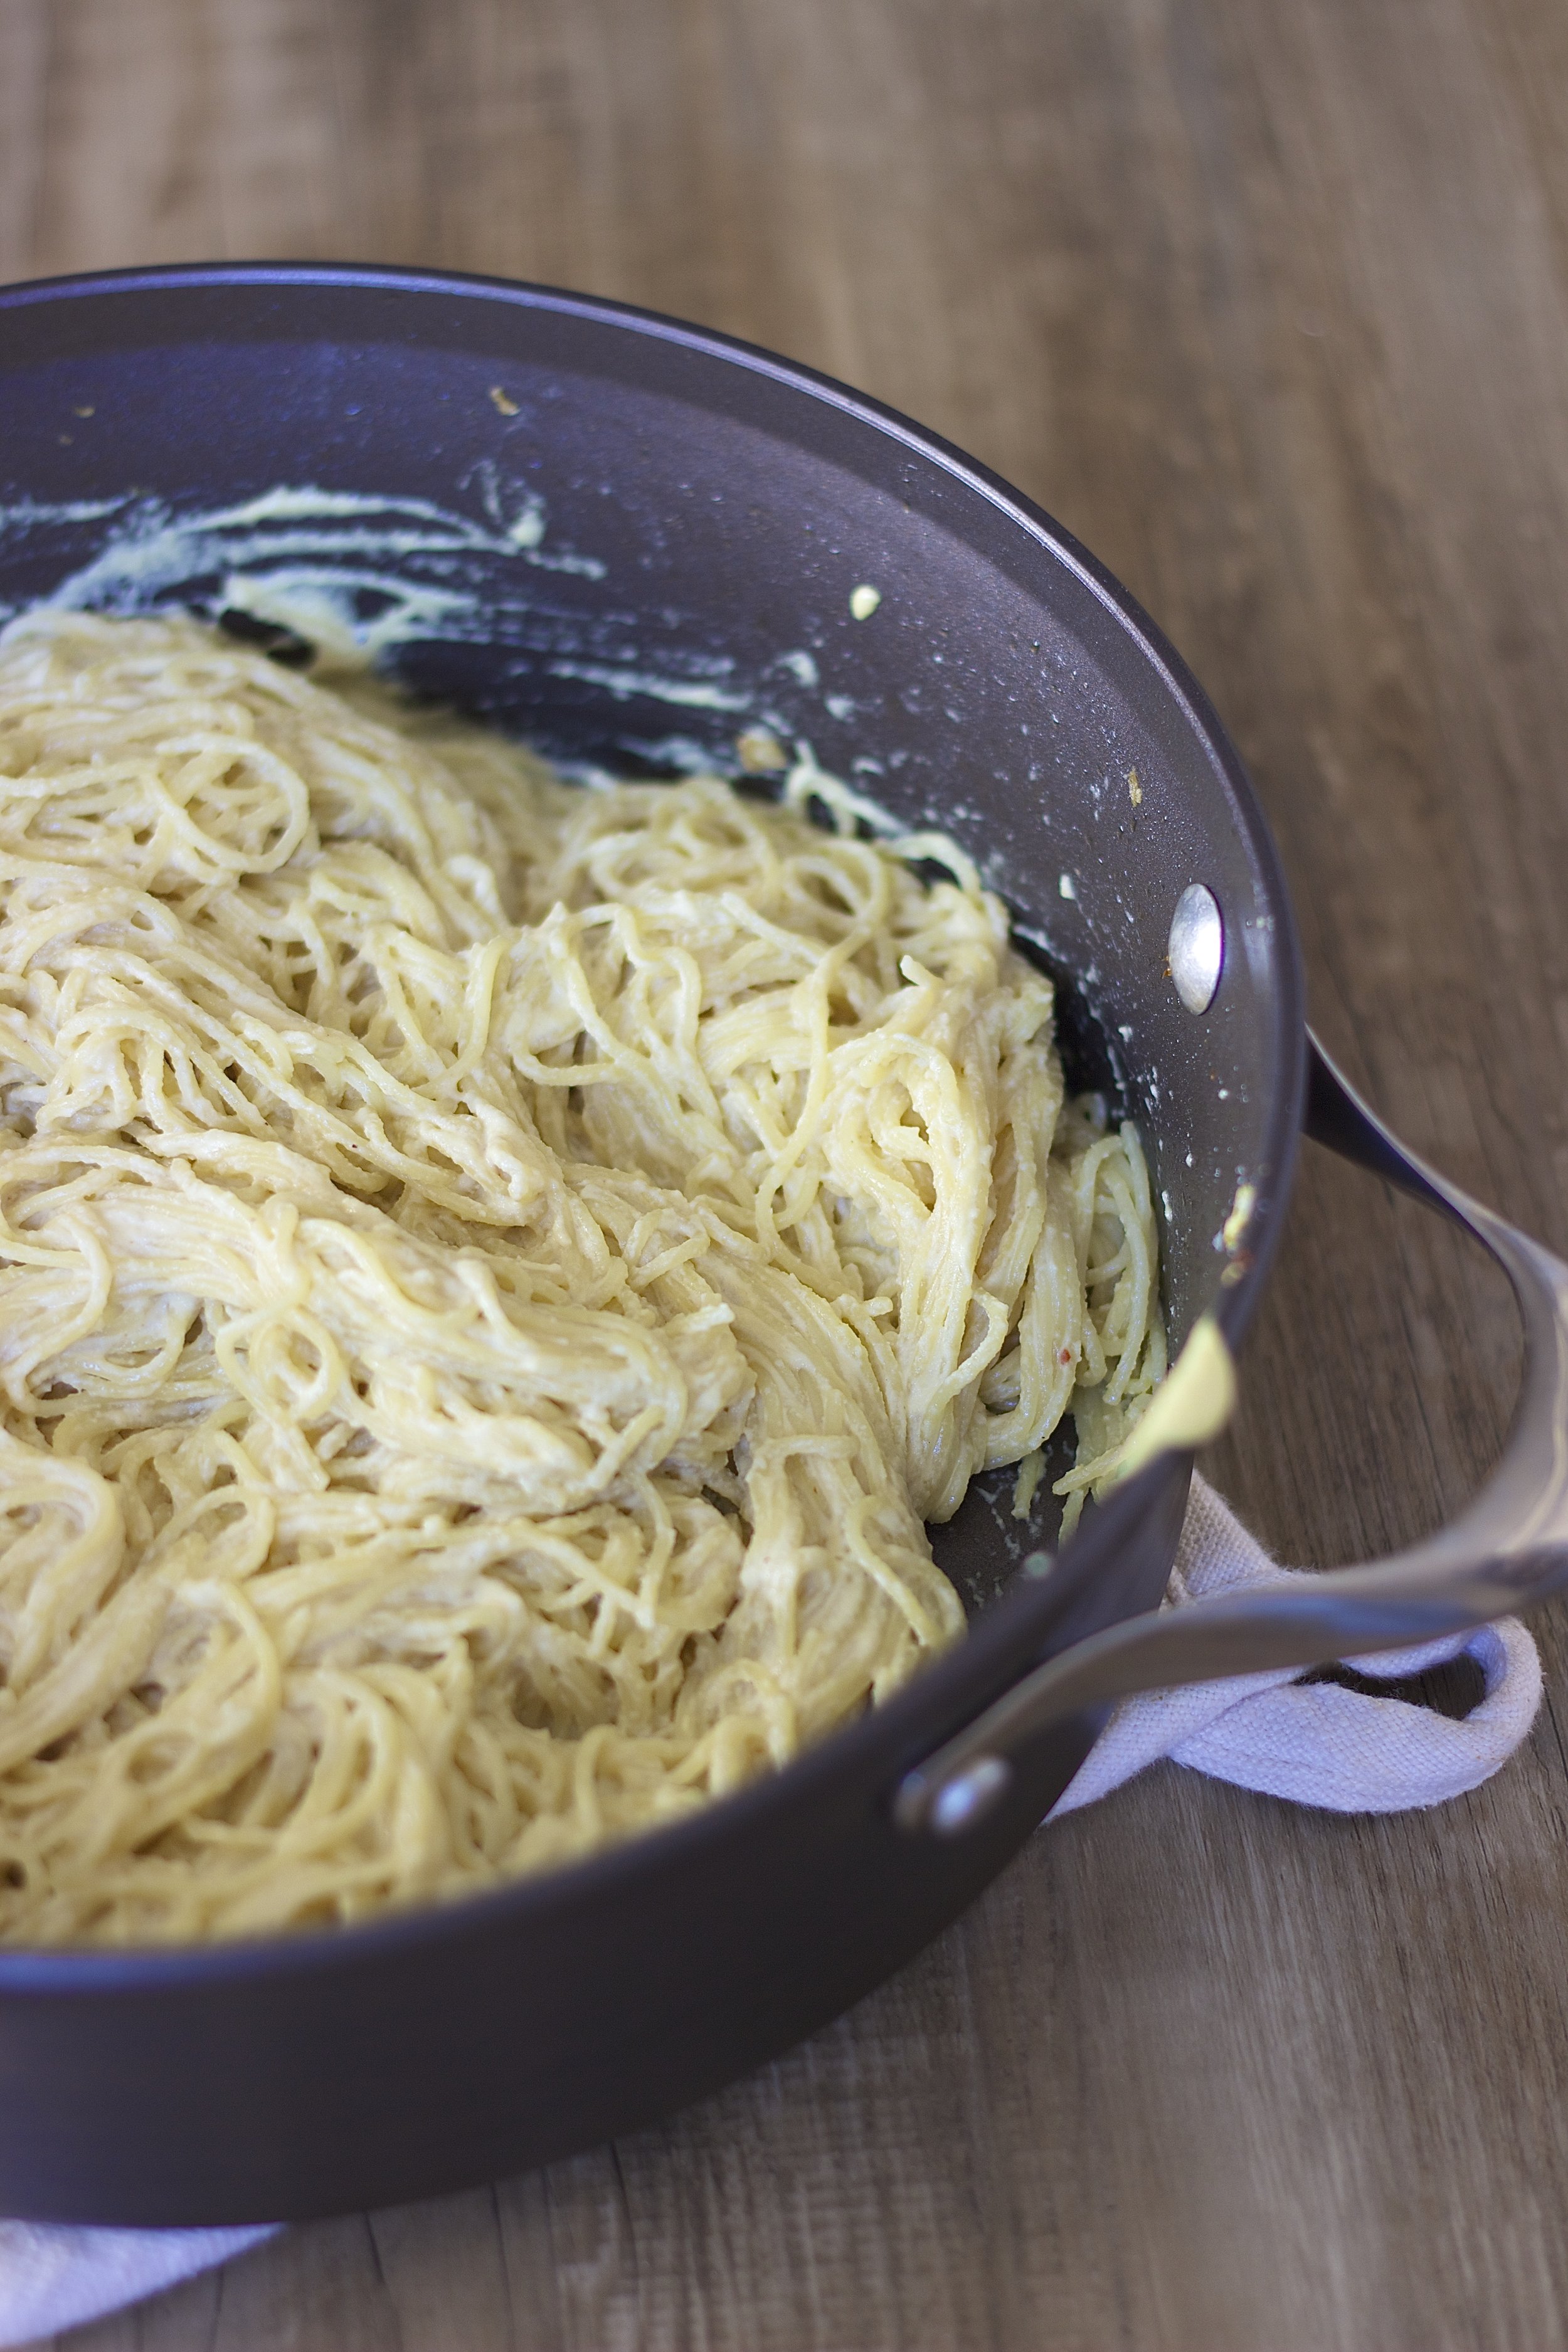
Once the water is boiling add the pasta and cook until al dente (keeping in mind angel hair cooks very quickly). Reserve about half a cup of pasta water, then drain, and add the pasta to the sauté pan and top with the cashew sauce (you probably won't use all of it), and toss over low heat. If it looks to thick, use pasta water to thin. Then top with zucchini and toss. Add in lemon zest and juice, basil and pistachios. Add salt and pepper to taste. Serve and enjoy!
Fusilli with Whipped Feta, Cinnamon, & Crispy Garlic

I wish I was creative and innovative enough to come up with this recipe all on my own, but alas it's a recreation from my all-time-favorite restaurant ever, Lula Cafe, in Logan Square. To be honest, it wasn't even love at first bite with this place. I fell in love with the restaurant after we found out we were moving to Chicago and a friend told me I have to try their vegetarian tasting menu. Yeah, vegetarian tasting menu. It's six of the most interesting, creative, tasty vegetable-focused dishes you will ever eat. I ordered it for our 3 year anniversary back in October and it was everything.

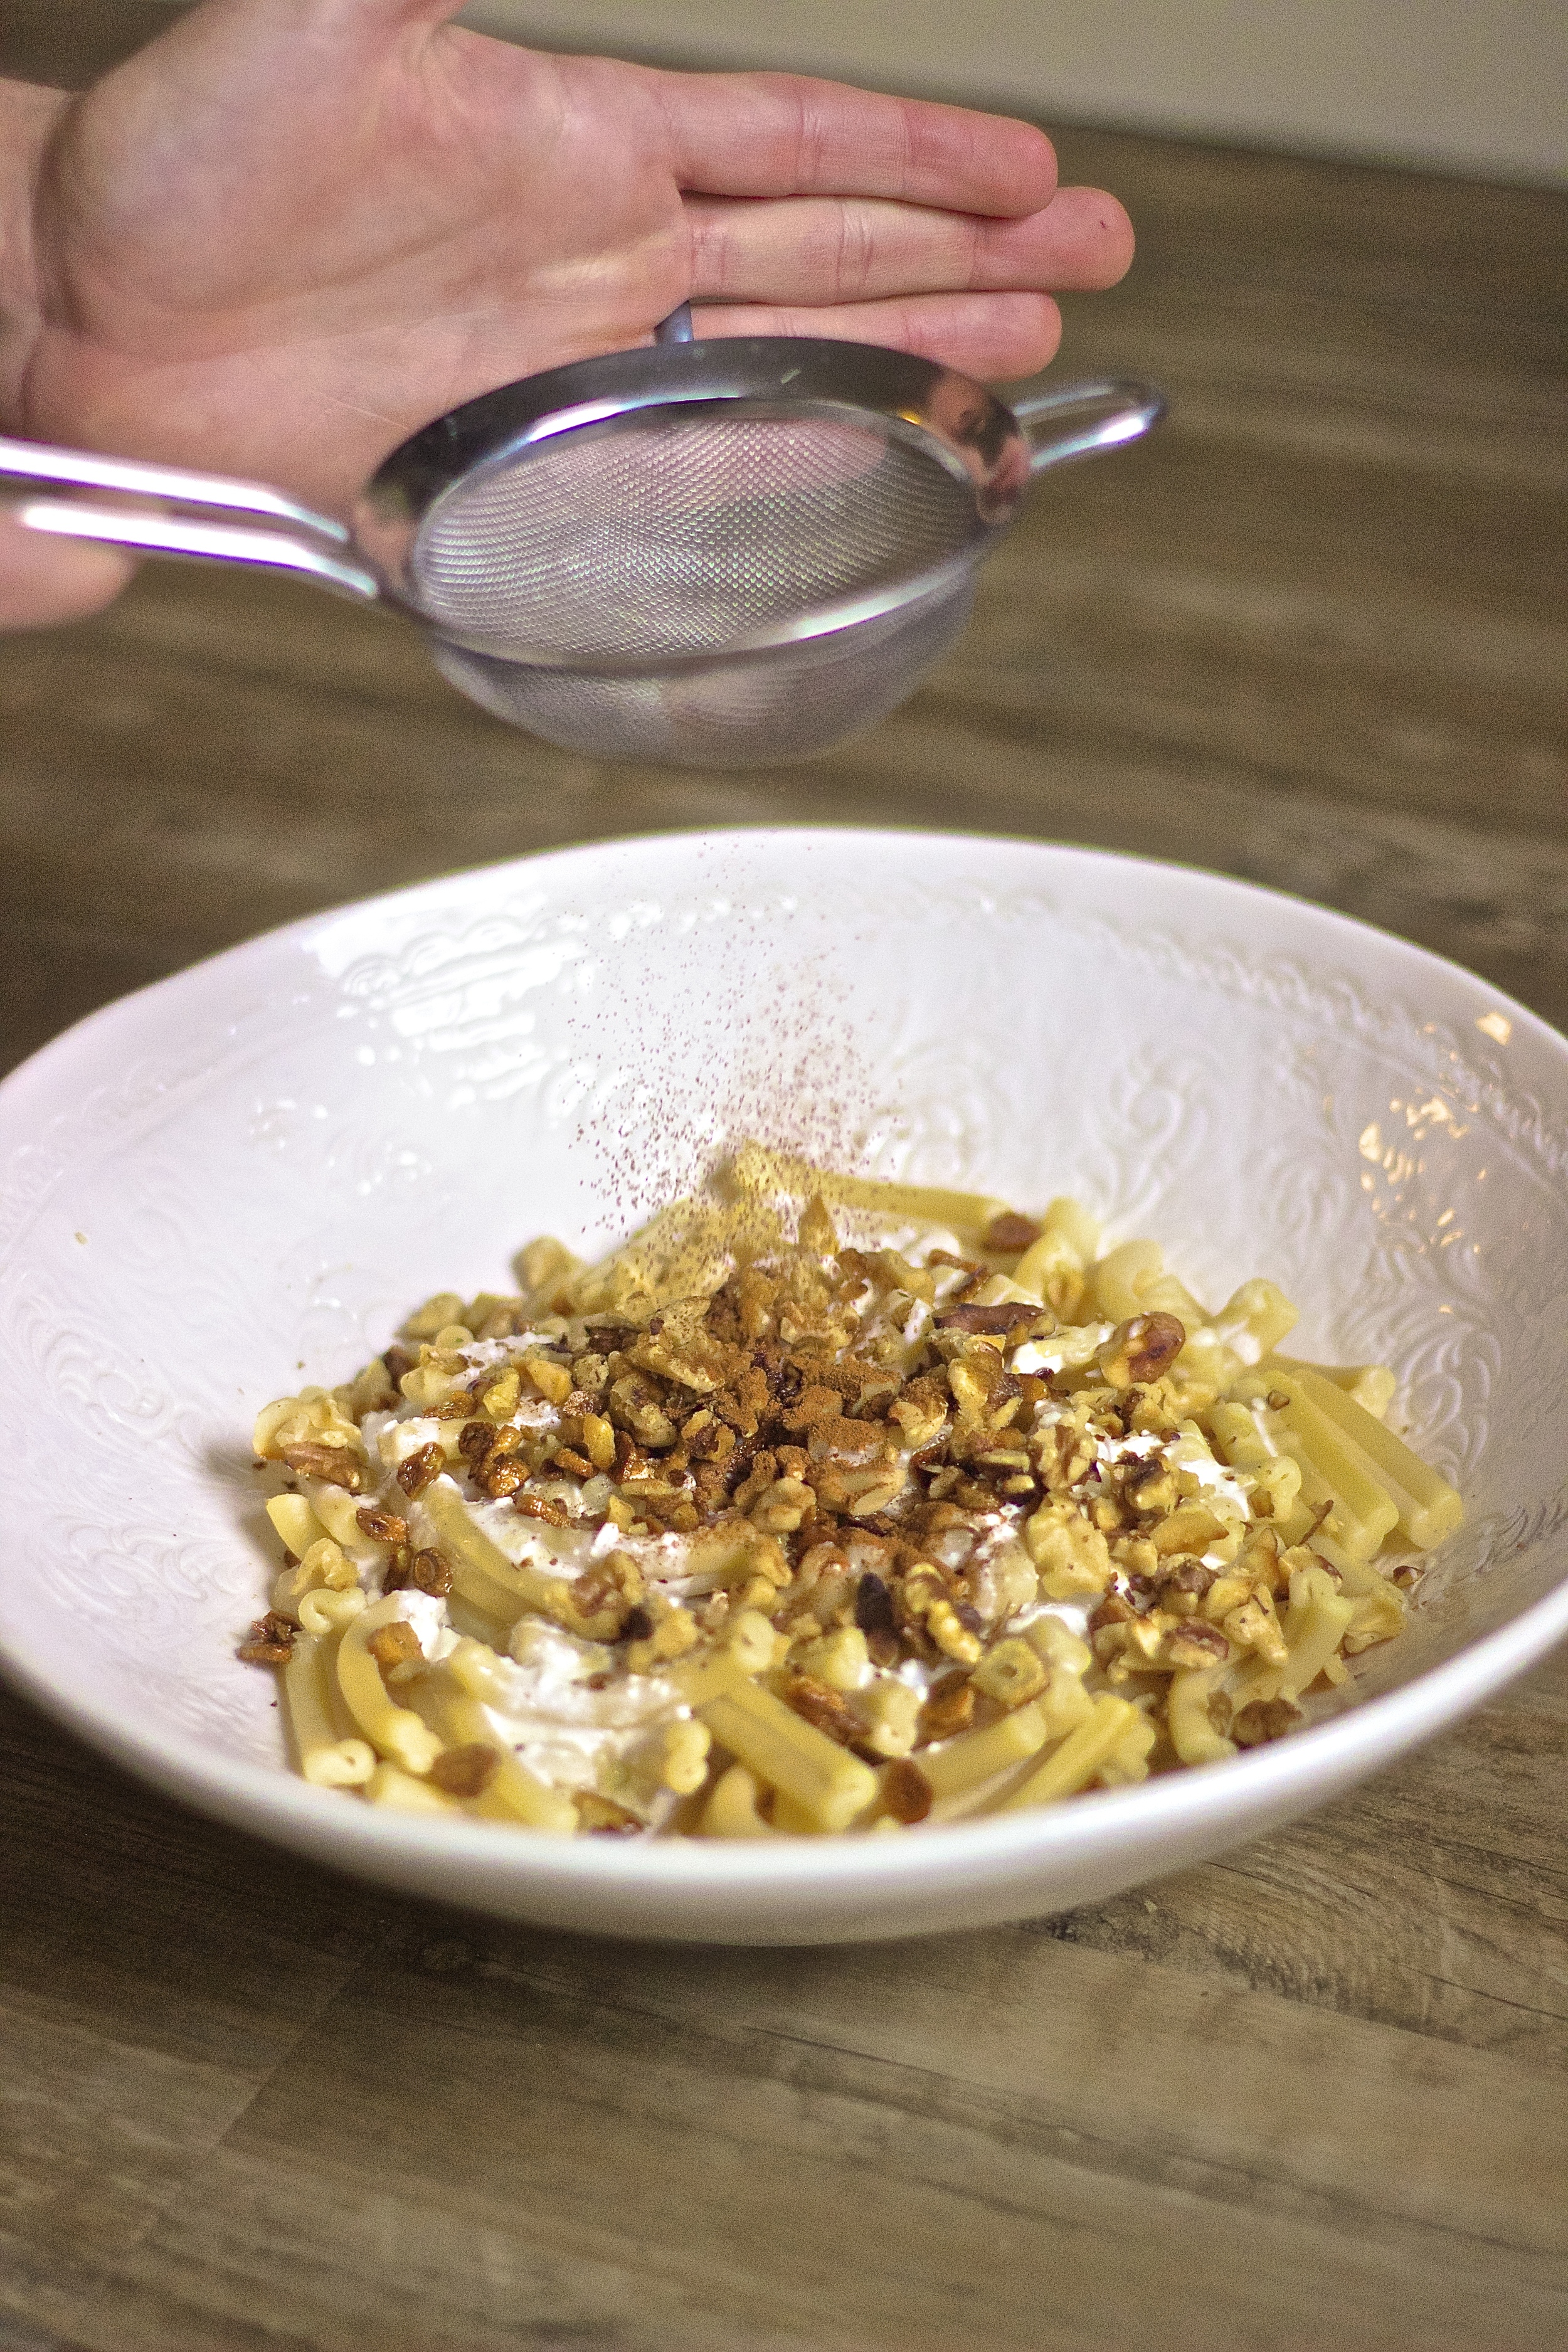
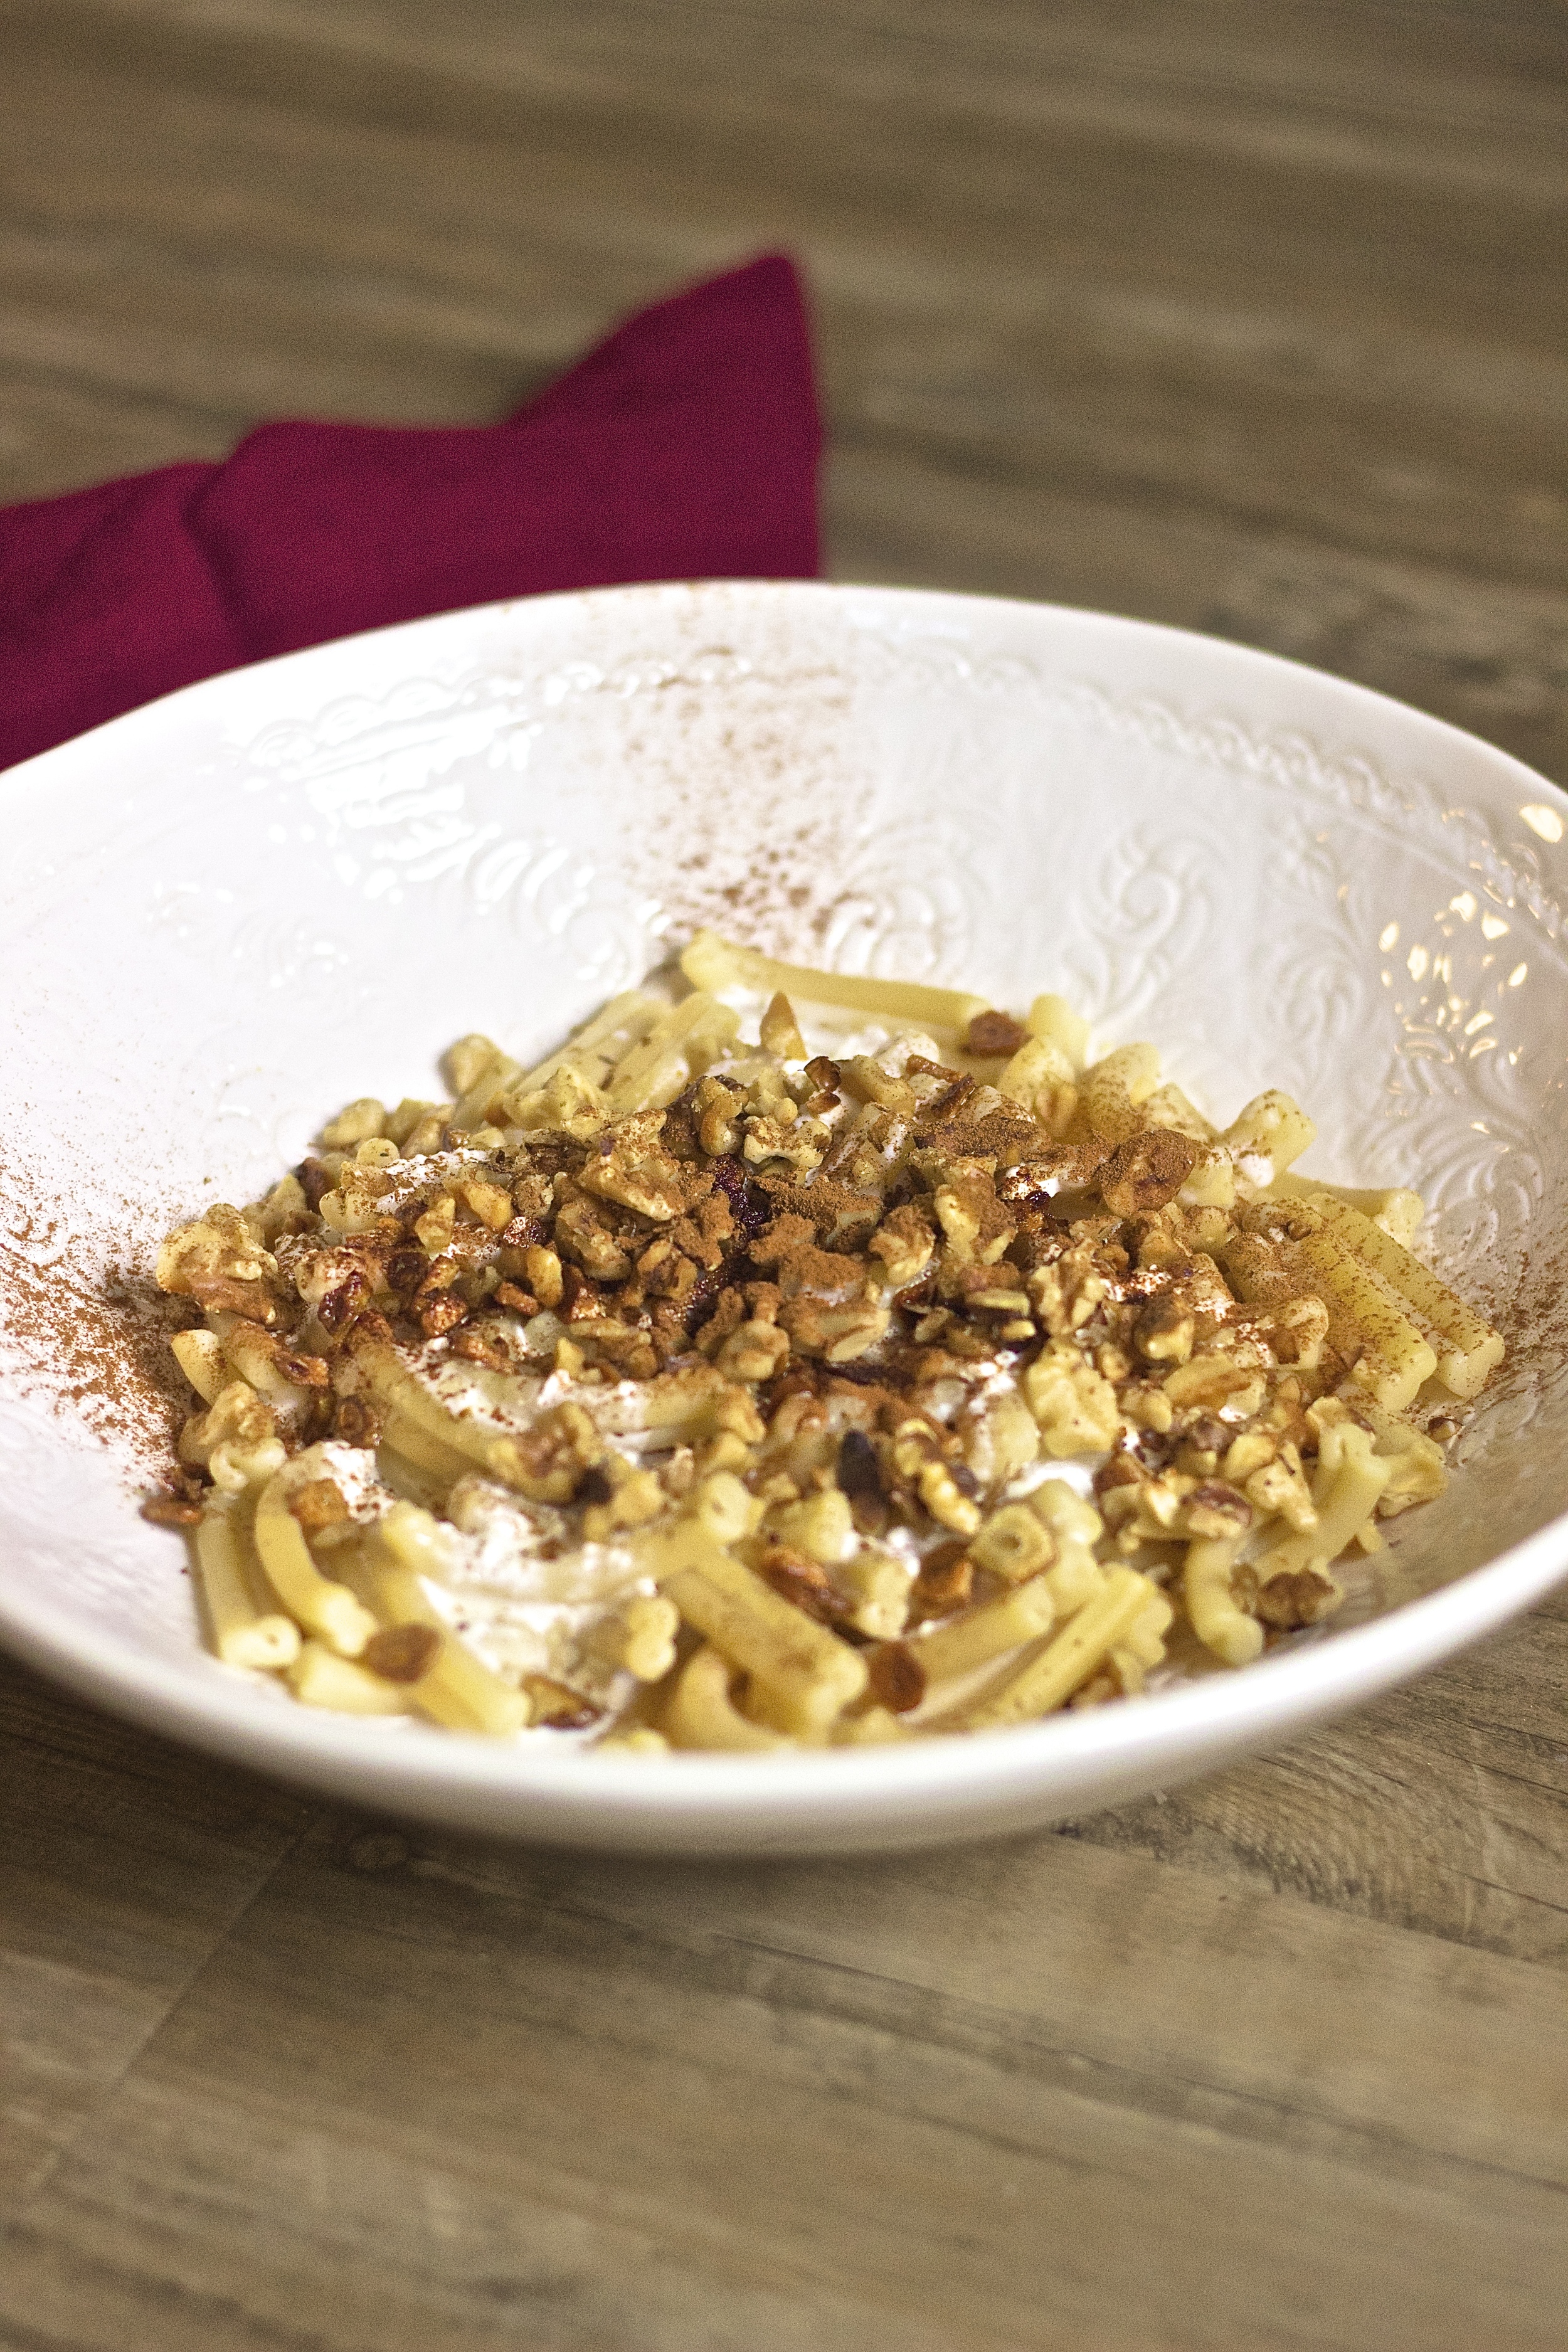


Nate ordered this dish the first time we ate there. "Pasta YiaYia", as it's listed on their menu, is a creamy combination of salty whipped feta, crispy brown garlic, and warm cinnamon. Cinnamon in pasta? I know, I was skeptical at first too but it's ridiculously good. I crunched things up by adding some warm toasted walnuts, and result is just as good as the original. It's the perfect comforting, warm dish for cold winter nights and comes together in literally 20 minutes.

Serves Two
Ingredients:
8 ounces fusilli caserecci (or pasta shape of your choice)
1.5 ounces chopped walnuts (see notes), ~ 1/3 cup
3.5 ounces feta
3-4 large garlic cloves, thinly sliced
2 teaspoons olive oil
1/2 teaspoon cinnamon, plus more for garnish
1/4 cup freshly grated parmesan
1. Bring a large stockpot of heavily salted water to a boil.
2. Meanwhile, place the walnuts in a pan over medium heat and cook until slightly browned and very fragrant, tossing occasionally. Once walnuts are toasted, remove from pan and set aside.
3. Using the same pan, heat the olive oil over medium heat, then toss in the garlic. Cook, stirring occasionally until the garlic slices are golden brown. Once browned, remove the pan from heat and set aside.
4. Once the water is boiling, cook the pasta until al dente (reserve the pasta water).
5. While the pasta is cooking, place the feta in either the bowl of a stand mixer with a whisk attachment (you can also use a hand-mixer). Whisk the feta at medium speed until smooth and creamy. Just before the pasta is done, scoop 2 tablespoons of pasta water and whisk it into the feta.
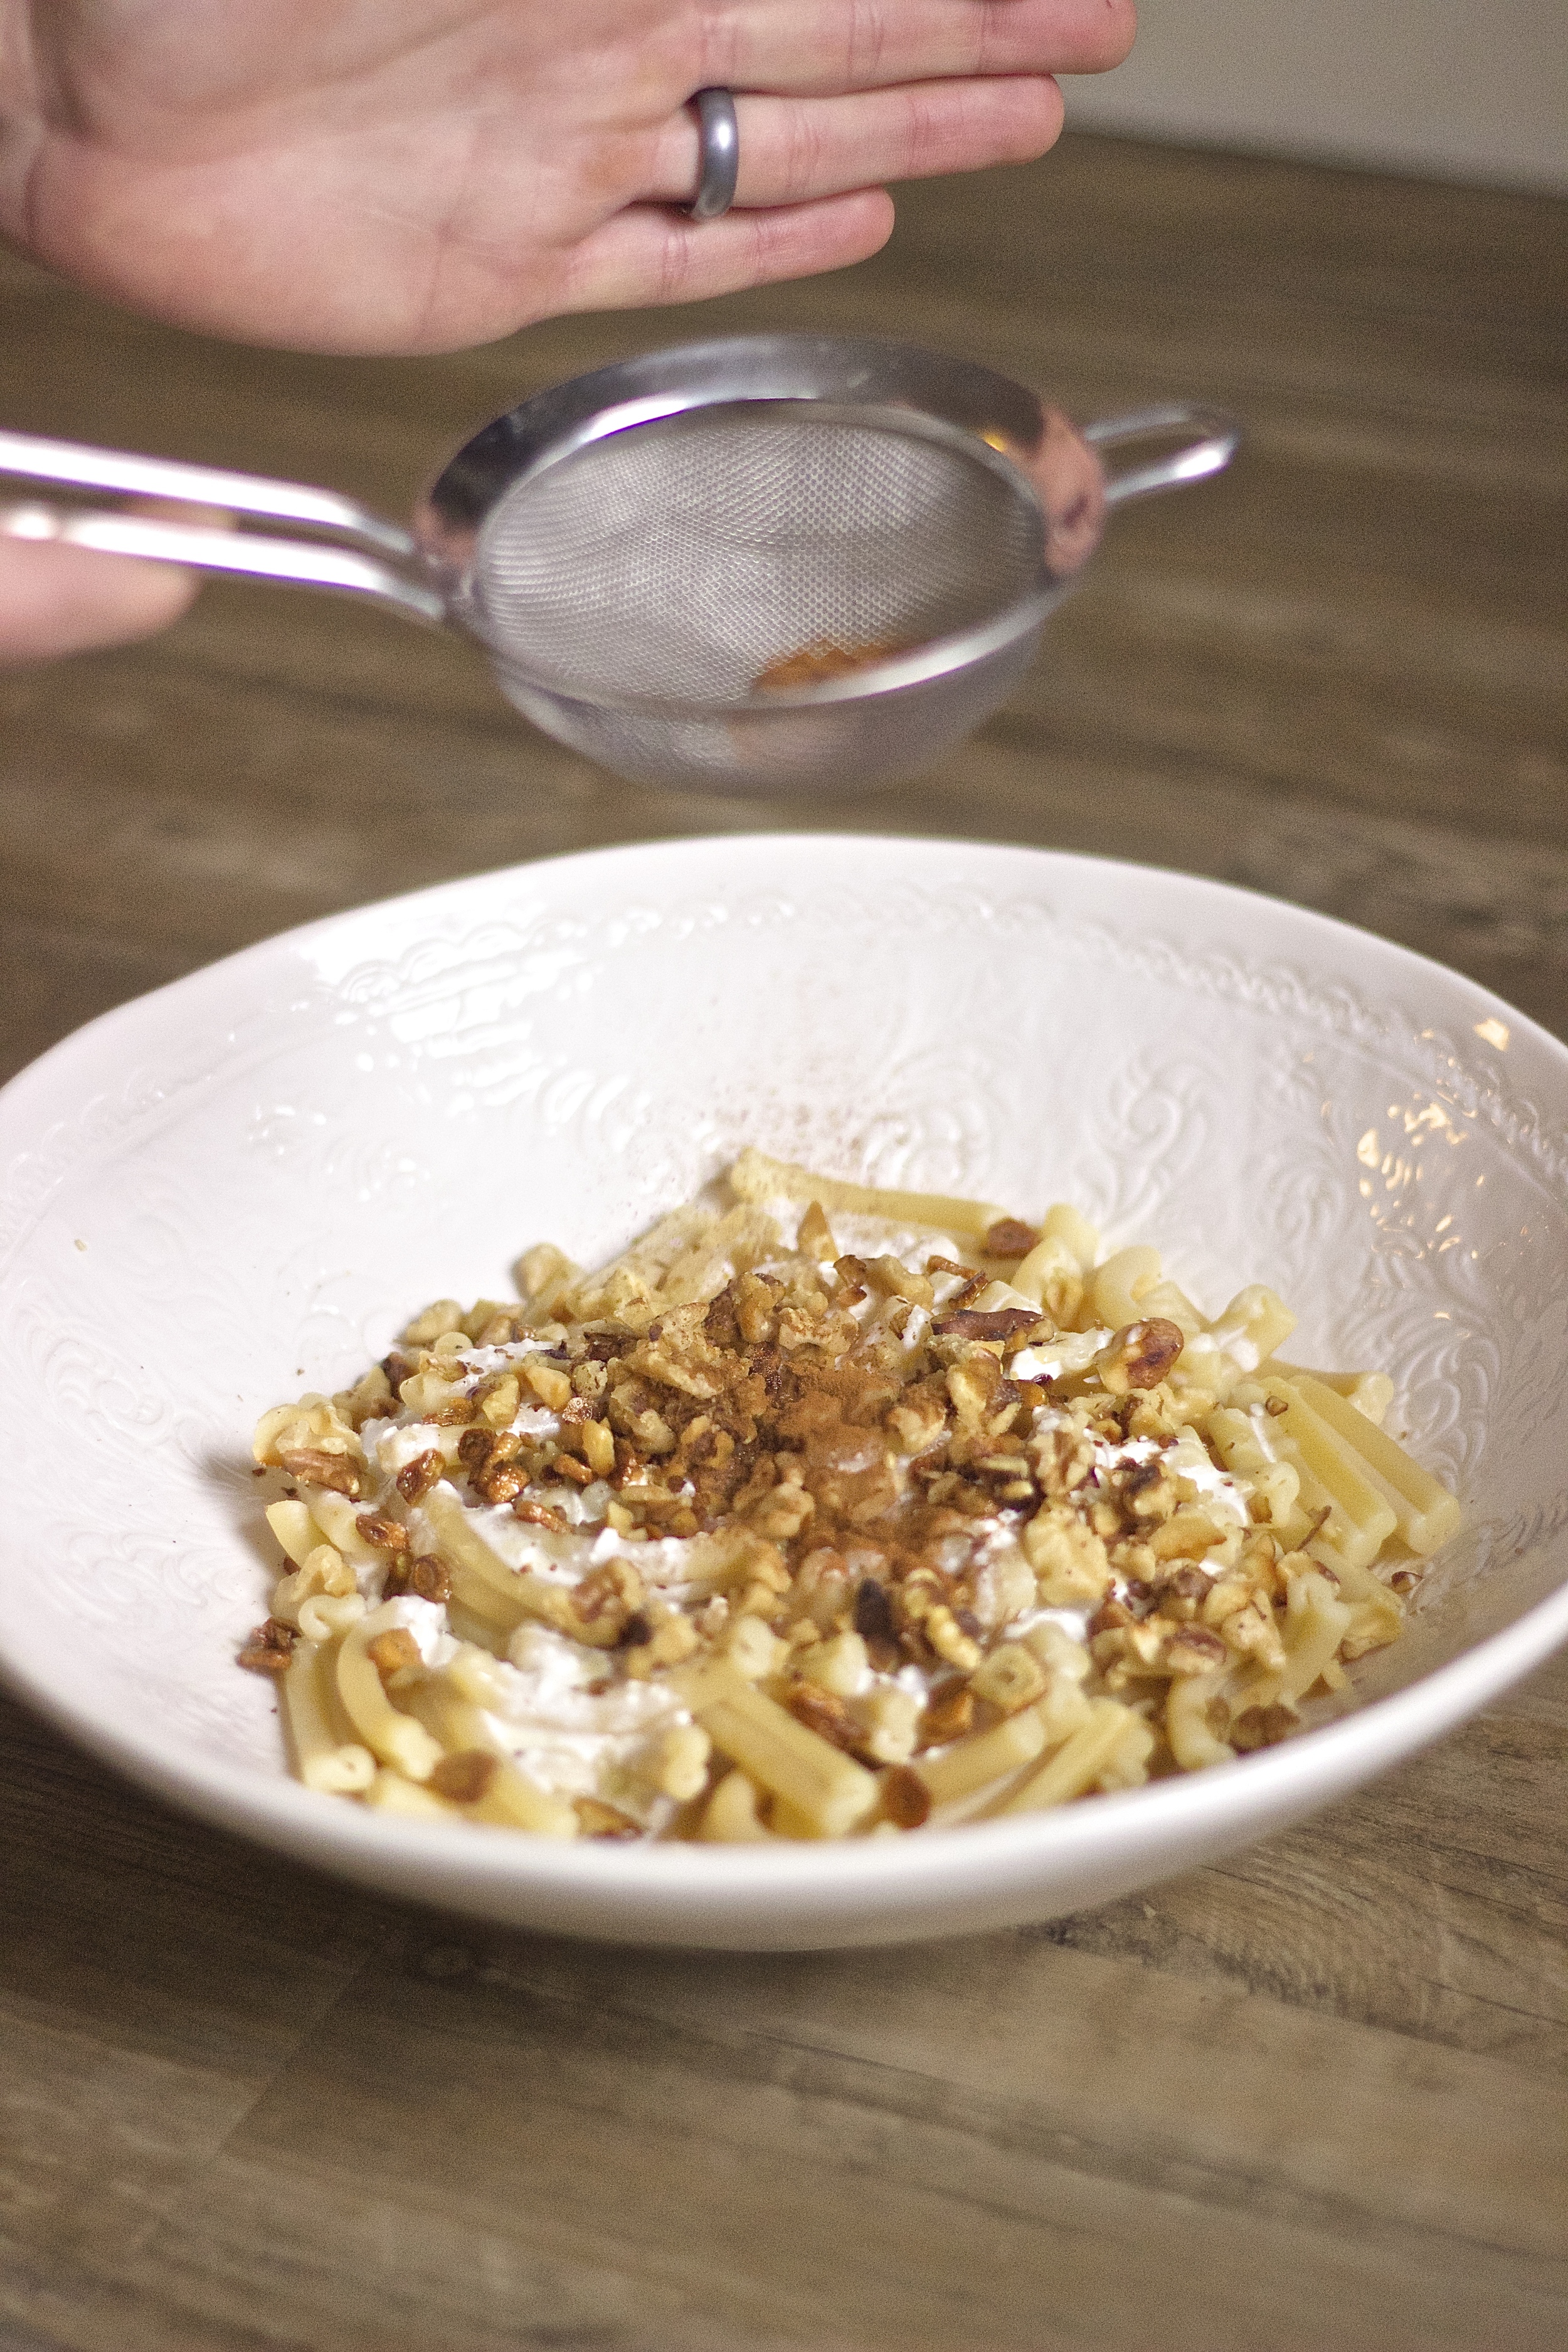
6. Transfer the pasta to a serving bowl, top with feta mixture, toasted walnuts, garlic, parmesan and cinnamon. Toss and serve, topping each serving with a light dusting of more cinnamon and parmesan.
Notes:
You could totally substitute any nuts you have on hand, I think this dish would be especially good with hazelnuts! I splurged a bit on the awesomely shaped pasta from Eataly, but seriously any pasta shape will do, even gluten-free pasta works well - this is our favorite.
Fresh Goat Cheese Ravioli with Heirloom Tomato Carpaccio in Brown Butter Sage Sauce
We all knew it was only a matter of time until we got some fresh homemade pasta up in here. The time has come, people, get excited.
To start, let's rewind a bit and go back to my first homemade pasta experience. Believe it or not, back in college, I was a horrible cook. The first time I ever cooked for my husband, and he tells this story all the time, I sprayed a pyrex baking dish with pam then filled it with a NO BAKE boxed peanut butter cup dessert. The pam soaked real nicely into the packaged cookie crust and it was my life's biggest disgrace. Years later, my roommate and I had a freezer stocked full of frozen food and most of what I knew how to cook was some variation on cheese and carbs. Thank god, I've grown up a lot since then. Here's to never looking back!


Within the year after graduating college, my good friend hosted a pasta making class for her birthday. She had her friend, who had recently graduated culinary school, come and teach us to cook. At the time, I didn't have the slightest clue of how the heck pasta is made. I just thought it comes dried in a package. So when our instructor showed up with a pound of all purpose flour and a carton of eggs, I was a bit skeptical. How are we going to make pasta from that? I thought.
What I experienced in the next two hours I'm pretty sure changed my life forever. I'm seriously getting a rush of excitement just writing this! Not only did mixing the dough by hand and running the sheets through the machine make me feel like a child again, it honestly felt like magic. I almost couldn't believe my eyes watching the fresh sheets roll through the machine and come out the other side as pillowy, soft, fresh strands of angel hair pasta. Not only was it magical, it was empowering! We started with a bag of flour and a carton of eggs and we created this! We're incredible! As if the experience wasn't magic enough, once everything was finished we got to eat the stuff. For those of you who have yet to experience fresh pasta, it tastes very different from dried - it's softer, lighter, and more delicate. Really a treat in and of it self.


Months later, I got engaged, uprooted my life in New York and moved to California to be with my man. I was unemployed, broke, and struggling to figure out what I was doing with my life. And one day, after one too many craigslist job ads, I marched my sorry ass to Sur La Table and bought a pasta machine. Somehow I knew, that even though it wasn't going to solve my problems, taking this shiny new machine home and spending the entire afternoon making pasta by hand was exactly what I needed. And I was right. In many ways I find the process very similar to my yoga practice. It's meditative, requires just the perfect amount of focus, care, and attention, and best of all it's just so damn joyful.


Through the years I've learned a couple things about pasta making that I must pass on. Here they are:
- Don't stress. It's just pasta. It can be a bit stressful handling the long sheets and trying to get it just perfect. But you have to remember it's just pasta. And the experience is supposed to be enjoyable. Also, I had the opportunity of watching Italians make pasta at a factory in Florence once and they man-handle the stuff with such confidence, absolutely no timidity there.
- Do not, I repeat, do not make pasta the day of a dinner party. If you're like me, and have a bad habit of taking on way too much, especially when given the opportunity to cook for others, know this is not the time. Make them in advance, the day before, that way if things go wrong (which they can) you can have time to make a back-up plan. I say all of this entirely from experience.
- Make pasta on a day you have nothing else to do. It's not a project that likes a time limit. And giving it a time limit will only take away from the joy of it and add stress. You don't want to be rushed, because it can take a while to get the hang of it, and projects like this always take longer than expected.
- Be patient with yourself. I have messed up so many times. Like really badly messed up and had to start completely over. There is a learning curve and a lot of trial and error. Be patient & see tip #1.
- Find a good Pandora station, and have fun. The truth is, you could probably drive somewhere and have pasta made for you. But making your own is just as much about the process as it is about the final product. Both should be enjoyed.


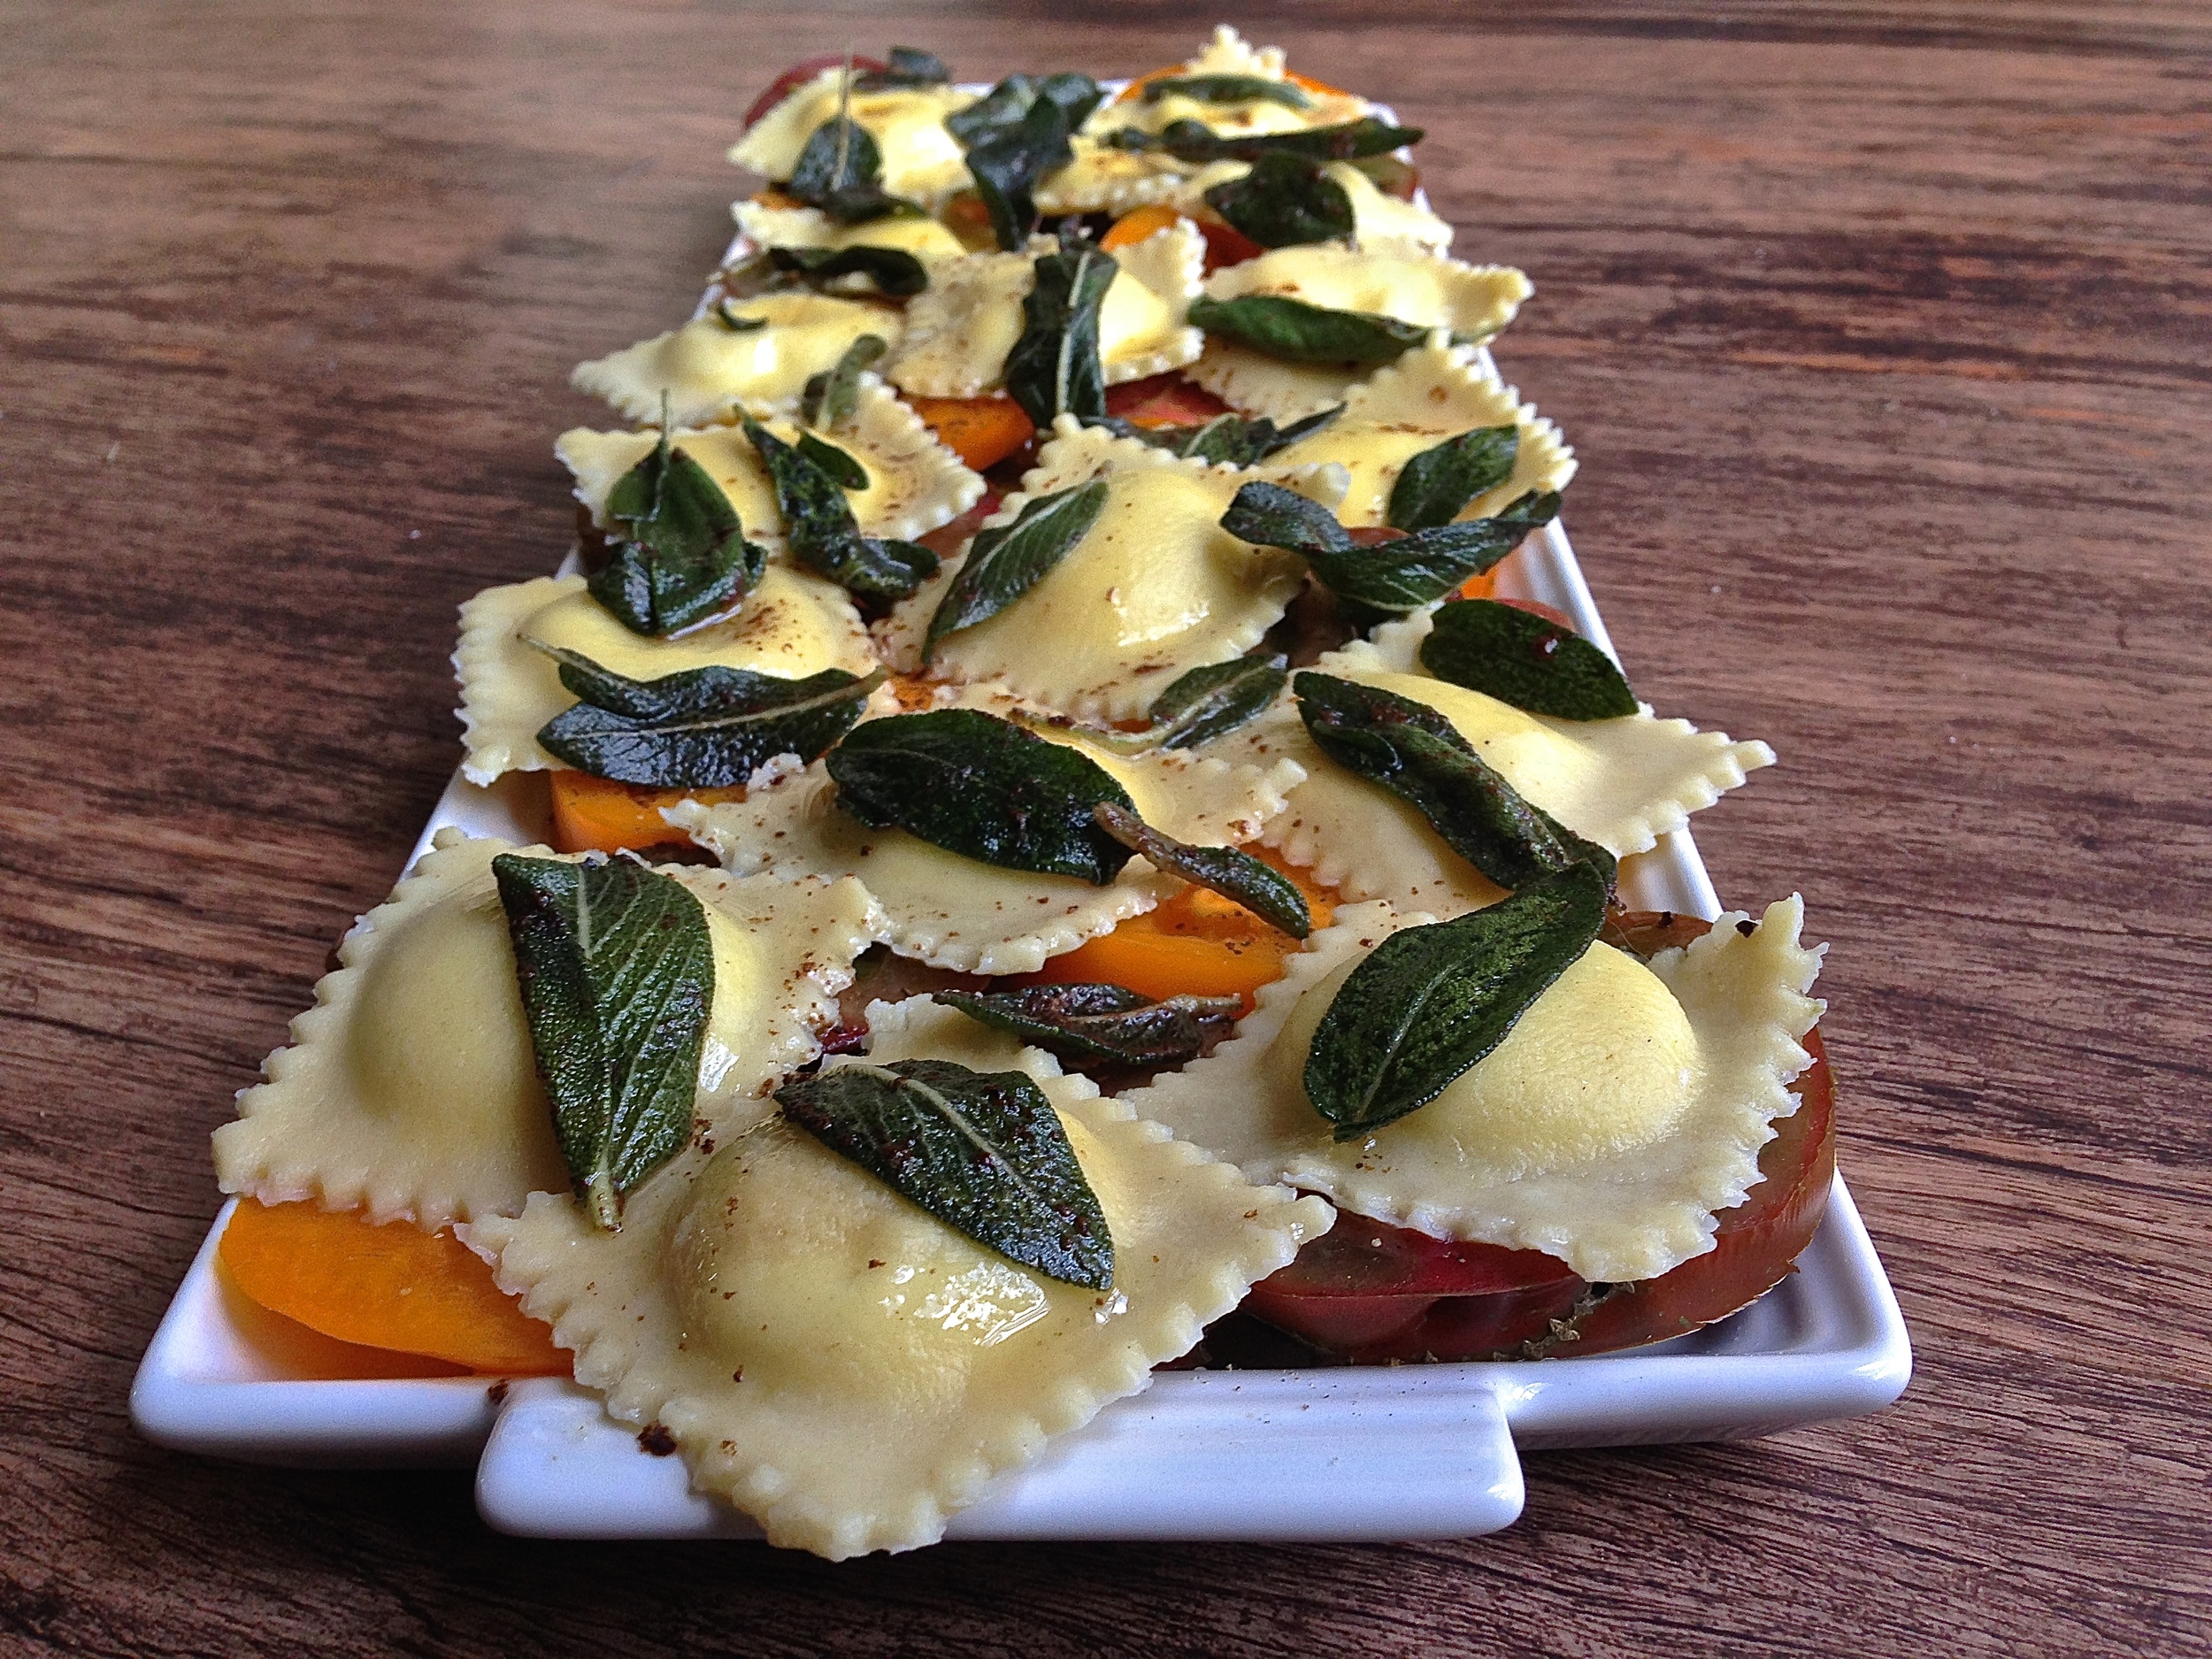
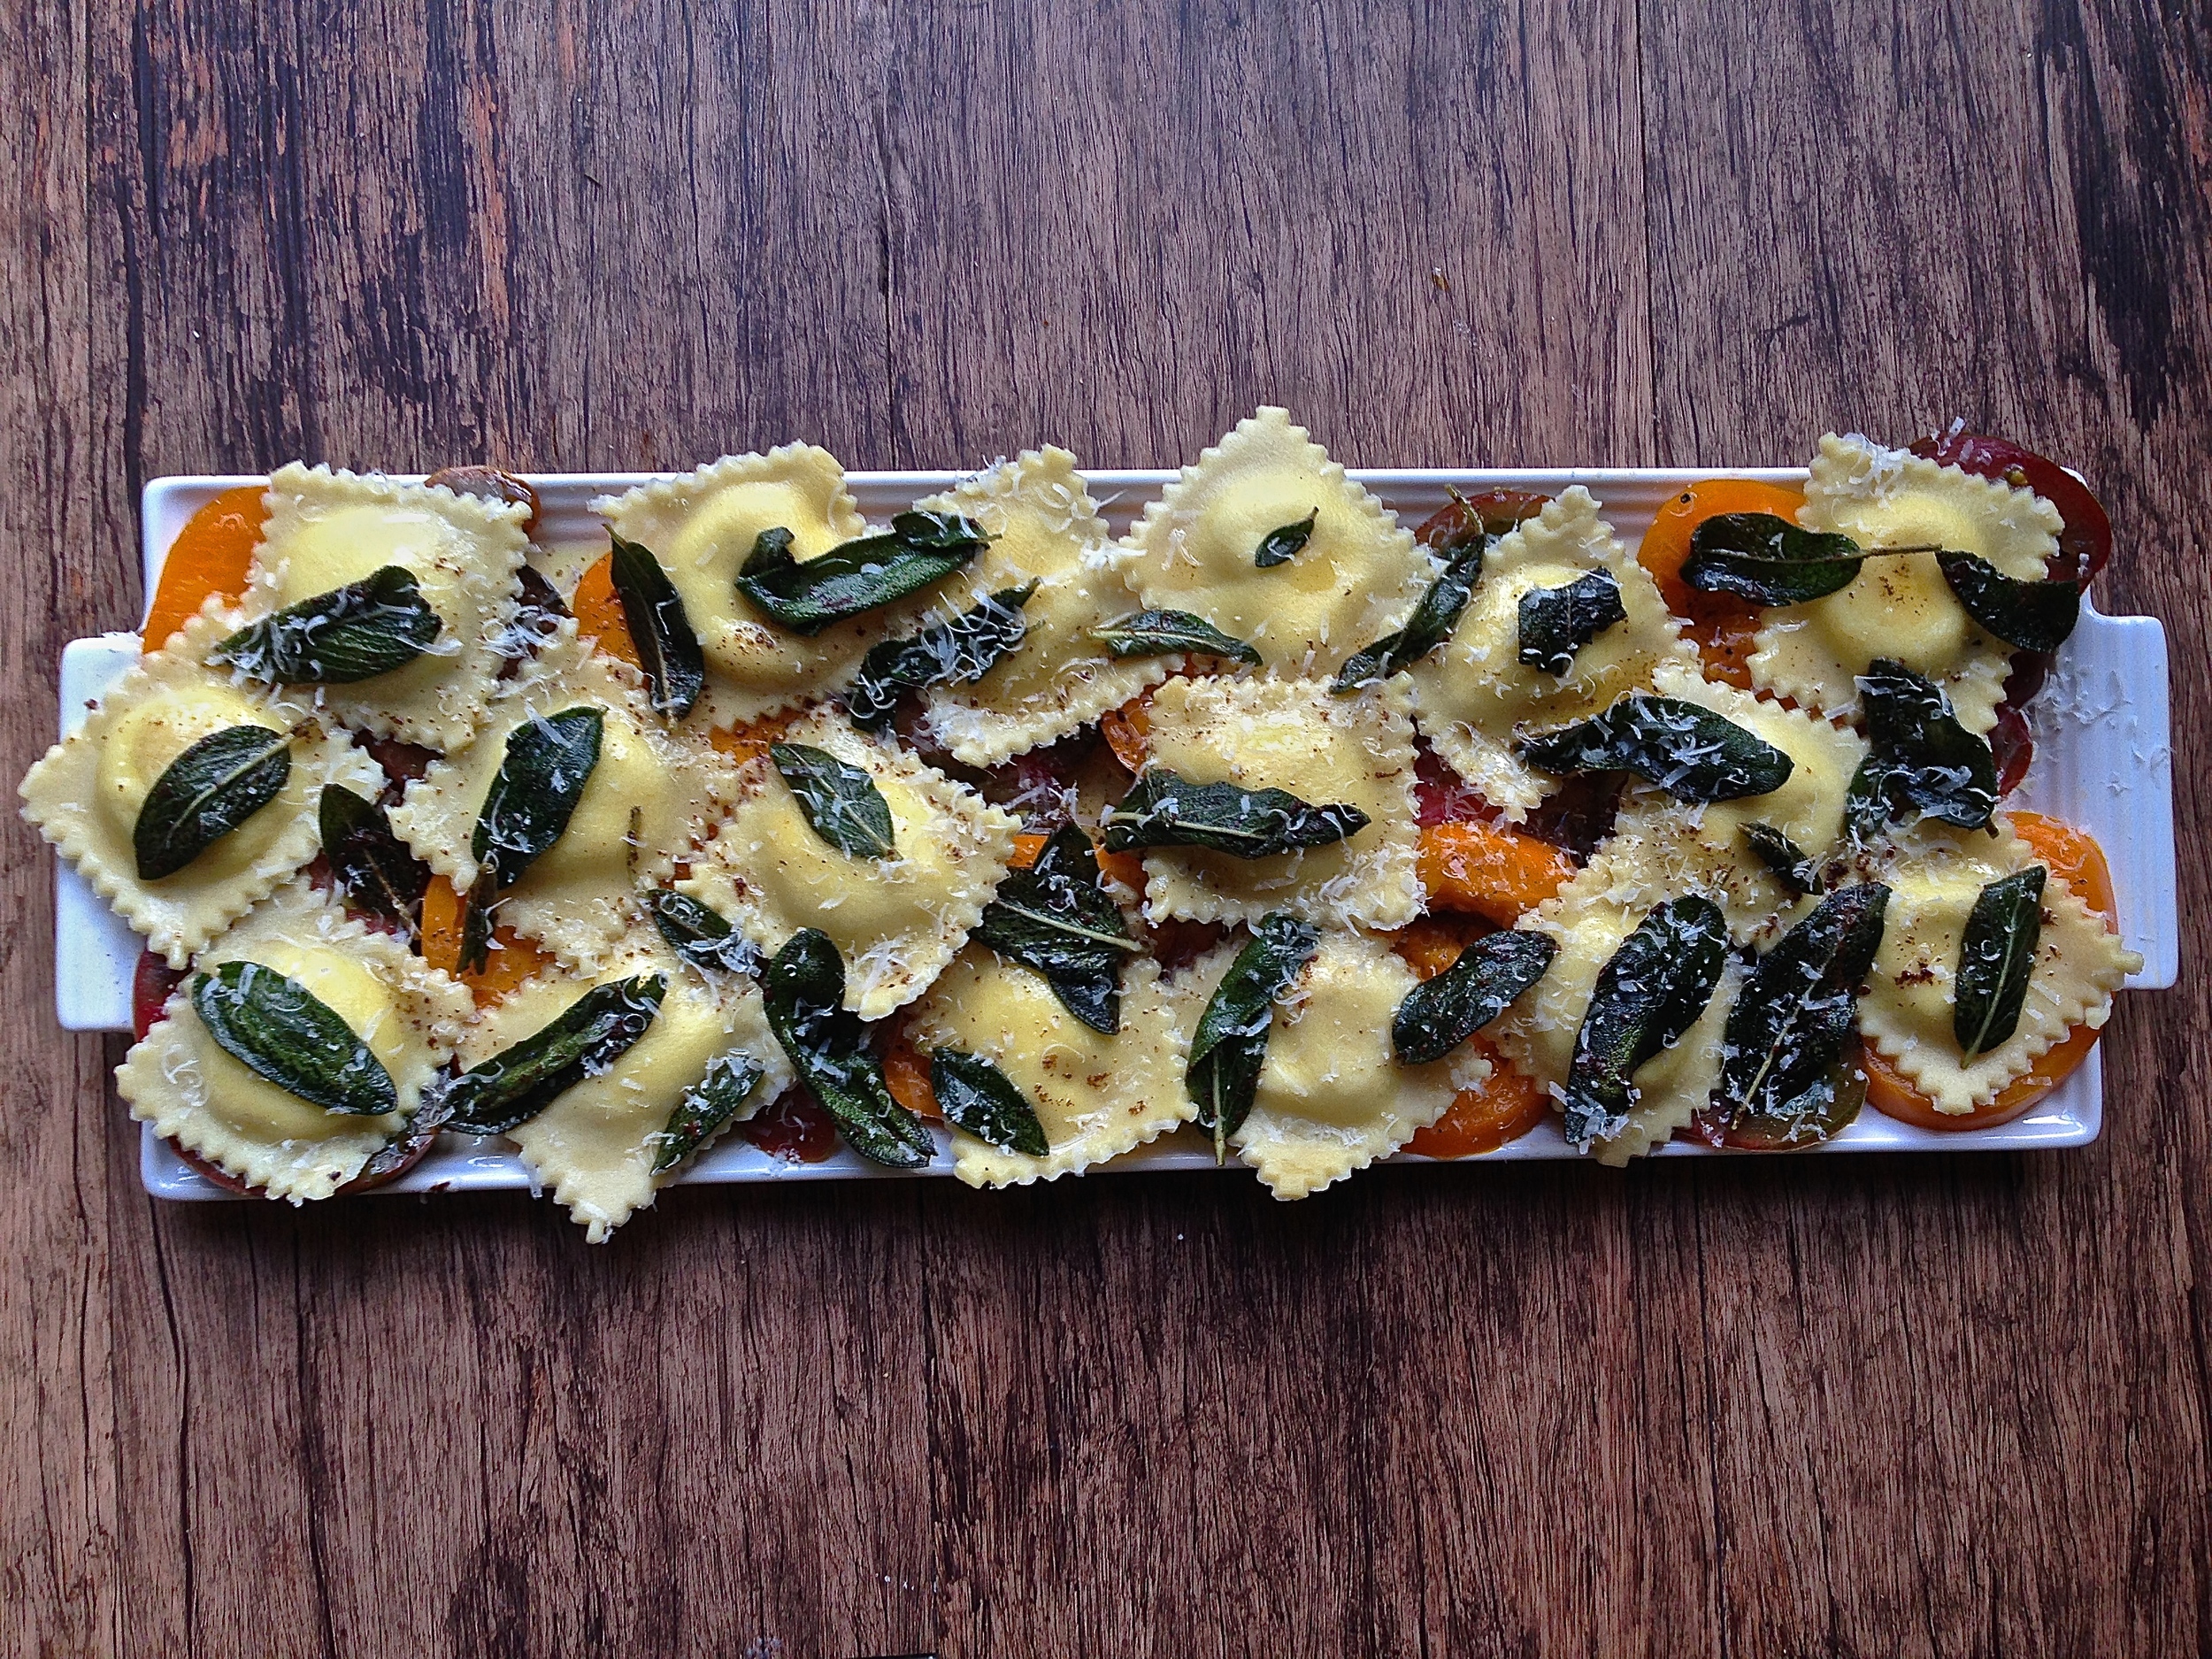
Which brings me to this dish. It is Summer meets Fall on a plate and it's a recreation from a fantastic dish I had a couple months ago at The Villa, a lovely little restaurant in Woodland Hills. I went with goat cheese and a little lemon zest for the filling, instead of traditional ricotta, to lighten things up. The fresh ravioli are laid over a bed of thick slabs of orange, purple, and yellow heirloom tomatoes, fresh, raw and dressed in nothing but olive oil, salt, and pepper. (The restaurant menu calls them tomato carpaccio, a word I'd only ever heard when referring to meat. Confused, I asked our waiter, who then went on to describe them as "tomato steaks" which pretty much sold me on them right then and there.) Finally, a warm brown butter sage sauce is poured over the whole thing. The freshness from the tomatoes and the deep rich flavors of brown butter and crispy sage are a match made in heaven. In fact, I found myself obsessing over the combination of the two so much that if you're not into the effort you can skip the ravioli all together and just serve tomatoes in brown butter sage and it would be divine.
Fresh Goat Cheese Ravioli with Heirloom Tomato Carpaccio in Brown Butter Sage Sauce
Inspired by The Villa
Serves 4 as a main (48 small ravioli)
For the dough:
200 grams All Purpose Flour
200 grams Semolina Flour
1/2 tsp sea salt
4 eggs, room temperature, (plus 1 for an egg wash)
1 tbsp olive oil (optional)
For the filling:
2 garlic cloves
8oz goat cheese
8 oz ricotta
1/2 tsp sea salt
pepper to taste
zest of 1 medium lemon
For the sauce:
1/2 cup unsalted butter (1 stick)
1 bunch fresh sage
1 tbsp lemon juice
parmigiano-reggiano, freshly grated, to garnish
For the tomato steaks:
3 large heirloom tomatoes, preferably in different colours
extra virgin olive oil
salt & pepper to taste
Make the dough. In a food processor (if you don't have one, follow the well method here) pulse both flours with salt until combined. Add in eggs and pulse until mixture begins to combine, then add olive oil and continue to pulse until a dough ball forms. Remove from food processor and knead on a lightly floured surface 5-10 times. Wrap in plastic wrap and refrigerate for 30 minutes.
Make the filling. Add garlic to a food processor and pulse until finely chopped. Add goat cheese and ricotta and blend until smooth and creamy. Add salt, pepper, and lemon zest and blend until completely smooth, adjust to taste. Refrigerate.
Make the ravioli. Line a large baking sheet with parchment. Heavily flour your ravioli maker with all purpose flour, and your parchment paper with semolina flour. Work with 1/4 of the pasta dough at a time, leaving the remainder in the refrigerator. Press dough into a flat disk. Crank the dough through the thickest setting of your pasta maker. Continue to crank the dough through, each time adjusting the settings thinner and lightly flouring the sheets with all purpose flour when they become tacky, until your sheets are about size 7 (see notes). Halfway through, cut your pasta sheet in half (one will be the bottom ravioli layer, the other will be the top). Lay 1 sheet over your ravioli maker and gently press down on the center of each ravioli to stretch the dough. Place about 1 tbsp of filling inside each ravioli. Using a brush, paint egg wash in between ravioli (it serves as glue) then add the top pasta sheet. Press down between each ravioli using a rolling pin/your hand. Cut excess dough from the sides of the ravioli maker and return the the refrigerator. Carefully remove each ravioli and place on baking sheet, being sure the ravioli do not touch because they will stick together and never let go. Continue until dough and filling are gone.
Heat a stockpot with salted water and bring to a bowl. Meanwhile, make the sauce. Add butter to a saute pan over medium heat. As the butter heats, white bubbles will form. When the butter has stops bubbling and brown bits begin to form, add sage leaves and continue to stir until butter becomes a light carmel color with many brown bits and leaves are slightly crispy. Add in lemon juice and remove from heat immediately, brown butter turns to burnt butter quickly.
Cut tomatoes into about 1/3 inch thick slabs and drizzle with olive oil, salt, and pepper and line on plates or a serving platter. When water is at a gentle boil, add 5-10 ravioli at a time and cook for 3-4 minutes. Top tomatoes with cooked ravioli, and drizzle with brown butter sage. Top with fresh parmesan and serve.
Special equipment:
- Kitchen Scale - I got away with a cheap $5 one for years before upgrading to a digital
- Pasta Machine - I have this one.
- Ravioli Maker or Ravioli Stamp (I have this one and this one)
Notes:
- Different pasta machines have different settings. For mine size 7 is the second to thinnest setting.
- This recipe calls for enough dough that you don't need to worry about salvaging the scraps.
- If you find that the dough snaps back at you and isn't easily malleable when you're working with it, give it a time-out in the fridge. I'm pretty sure this has something to do with the gluten content, and it's solved by refrigerating for a couple minutes.